Transport Fever 3 Austria: Huge Alpine Map Guide
Explore the giant Transport Fever 3 Austria alpine map: towns, rail corridors, sparse industries, setup steps, and performance tips.
Why This Alpine Sandbox Matters
A view from Munich toward the Alps is the quickest way to see why this map is circulating. Transport Fever 3 Austria right now means a community-built country, not a small official scenario, and the standout file tries to hold a central European crossroads on one board. If you came looking for Transport Fever 3 Austria ideas you can build on, the showcase version covers Austria plus a wide band of southern Germany, with neighboring countries tucked along the edges.
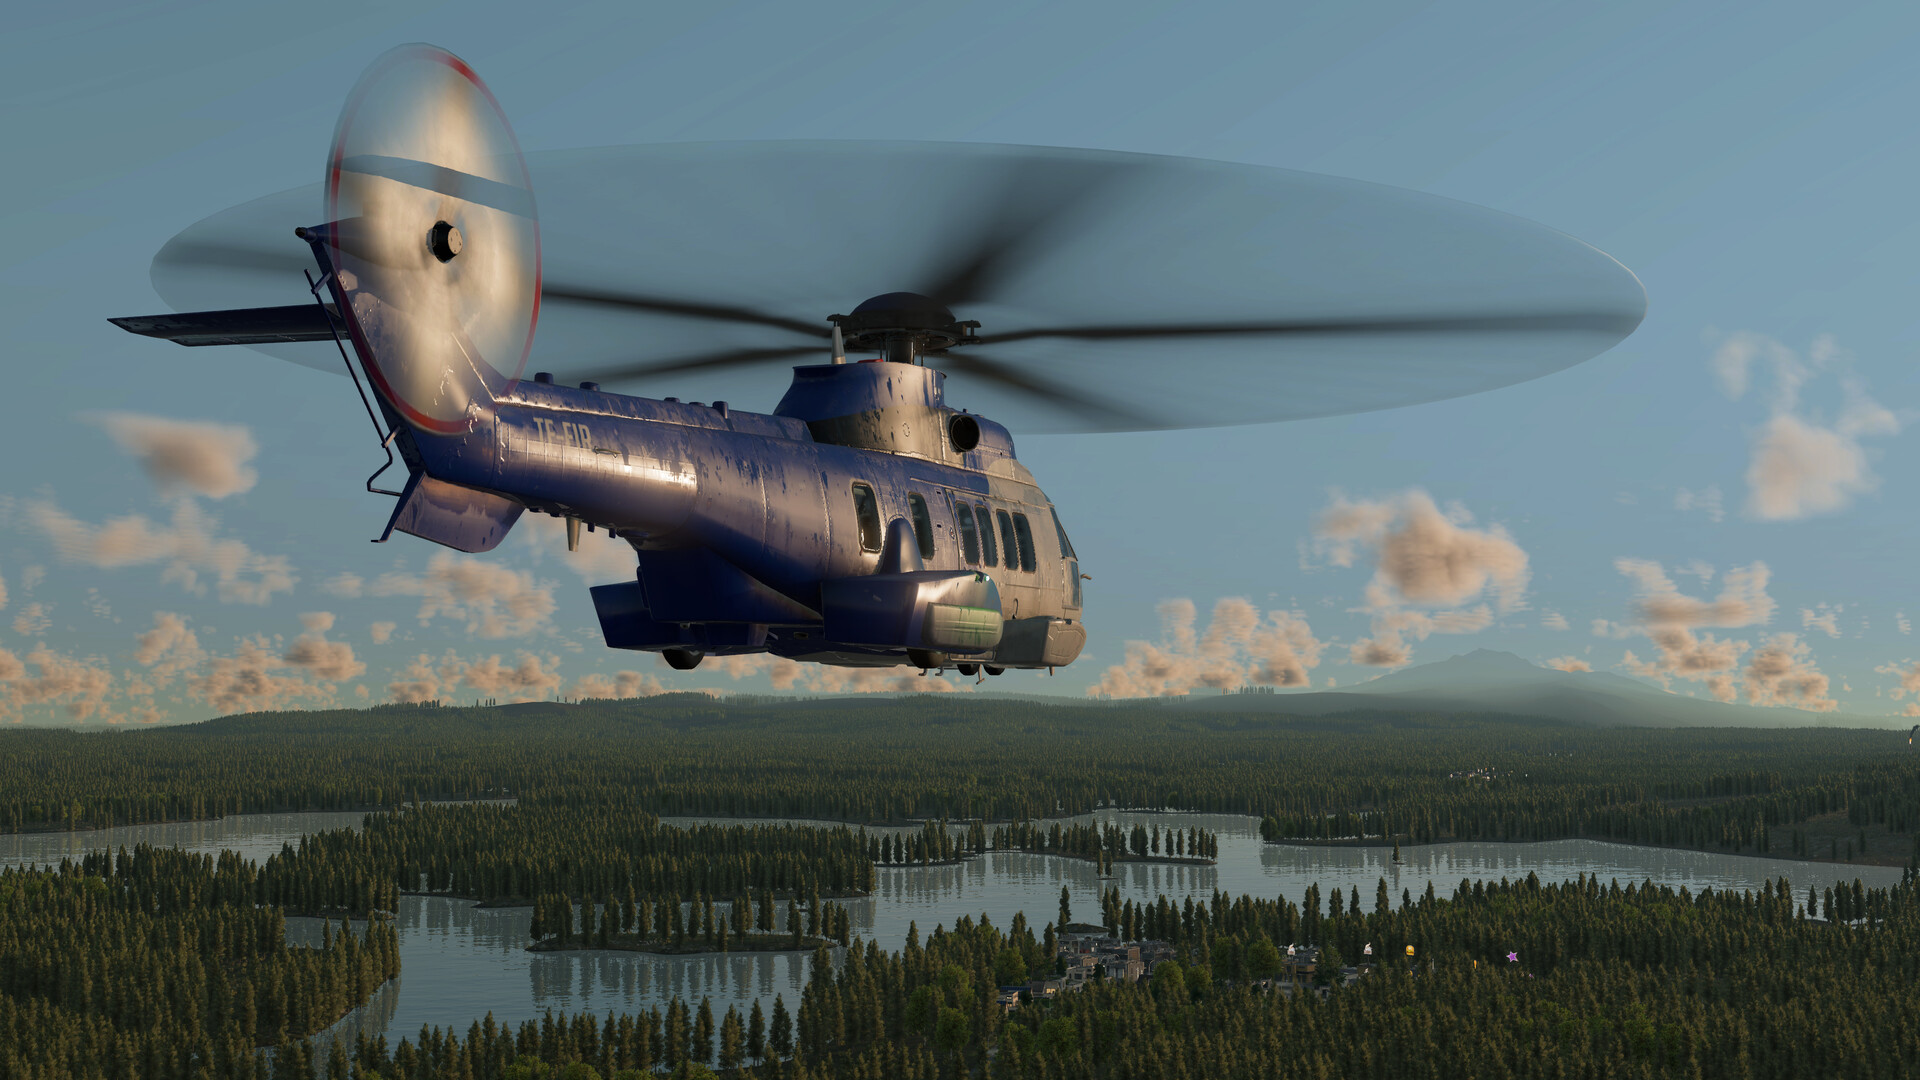
Official screenshot · Source: Steam store
Scale changes the strategy. Valley hops still work, but the profit sits on long passenger spines and cargo that has to cross a ridge. The Transport Fever 3 listing on the Epic Games Store describes a tycoon sandbox with a map editor, an in-game mod browser, and more than 275 vehicles spanning over 125 years. Those are the tools a map this wide is meant to exercise.
Player experience from a long showcase credits the map to a creator named Christian. The public file is labeled version 10. Earlier numbers were not in the mod listing, so treat 10 as a private revision count, not as nine missing downloads.
What the Giant Alpine Map Actually Includes
A Transport Fever 3 Austria tour is easier if you split the board into regions instead of trying to memorize it from one zoomed-out view. Community reports put Munich first by size and Vienna second. Other cities land closer to half of those two, which means two metros and then a wide field of mid-size towns and tiny villages.
Bavaria occupies the northwest. Rosenheim and the Chiemsee sit east of Munich, and the Inn leads to Kufstein and Wörgl, the practical door into Tyrol. Ingolstadt and Dingolfing show up as named industrial towns. Regensburg and Ulm anchor the Danube side and the west. Lake Constance holds Bregenz, Dornbirn, Feldkirch, and Friedrichshafen, with St. Gallen adding a glimpse of Switzerland.
Southern and eastern Austria are where the names get dense. Carinthia includes Villach, Klagenfurt, Hermagor, and Spittal an der Drau, with Leibnitz and Deutschlandsberg farther southeast. Maribor is on the board, and Maribor is in Slovenia, not Slovakia. Past Bad Radkersburg the land flattens toward western Hungary. Neusiedl am See and Bratislava sit close enough to Vienna for a commuter line. The north touches the Czech Republic, the south reaches Merano and Bolzano, and Linz holds the Danube.
Mountains are present but compressed. In the showcase, one terrain reading sat near 207 meters, and the host felt the Alps were lower than on the Rhône map from Transport Fever 2. They still read as a range, and you can cross them, but grades are softened so an entire country fits. Vegetation is thick along rivers. The valley around Knittelfeld and Zeltweg is singled out as good railway country, and the showcase ties that stretch to the old Österreichring, now the Red Bull Ring.
| Region | Role on the map | Places players highlighted |
|---|---|---|
| Bavaria | Biggest city and auto plants | Munich, Rosenheim, Ingolstadt, Dingolfing, Regensburg |
| Tyrol and the Inn | Alpine gateway | Kufstein, Wörgl, St. Anton am Arlberg, Landeck |
| South Austria | Small-city network | Villach, Klagenfurt, Hermagor, Spittal an der Drau |
| Danube and the east | Flatter expansion | Linz, Vienna, Neusiedl am See, Bratislava |
| Lake Constance | Three-country corner | Bregenz, Feldkirch, Friedrichshafen, St. Gallen |
| Border extras | End-of-line goals | Maribor, western Hungary, Merano, Bolzano, Czech towns |
Not every hamlet is a future metropolis. Community reports mention villages with barely any residents. If a dot is not on a corridor you already need, a bus is enough.
How to Launch a Map This Large
Getting a Transport Fever 3 Austria save running is a setup task before it is a strategy puzzle. Community reports say this canvas is not realistic on consoles. On PC, the default size list may still reject it. Players enable oversized maps with a mod from the library, or by turning on debug mode and allowing those sizes in the config. The showcase author pointed to an earlier video for the manual method and later noted that size mods are in the library. Start with the mod.
Skip homemade config edits unless a current guide names the exact keys. Those lines move between patches, and a wrong value can refuse the save. Subscribe to the size unlock, restart, then load the Austria file labeled version 10.
| Step | Action | Watch for |
|---|---|---|
| 1 | Install the PC version and open the mod browser | This size is a PC project, per community reports |
| 2 | Add a map-size unlock from the mod library | Prefer a maintained mod over a guessed config edit |
| 3 | Subscribe to the Austria upload labeled version 10 | Numbers 1–9 were not in the public listing |
| 4 | Start free play on a relaxed economy | Learn the ground before hard contracts |
| 5 | Save after the first full load | Giant maps take longer to boot |
A softer economy is worth using on the first boot. The base game lets you relax the money model or switch it off for a pure building session. With Munich and Vienna both waiting for service, an hour of sightseeing will prevent a bankrupt restart. Turn the economy back on once you know which valleys are actually usable.
Rail Corridors Worth Building First
The strongest Transport Fever 3 Austria lines follow valleys and historic passes instead of straight shots over summits. The showcase warning is simple: you can lay track almost anywhere, and you should not fill the map. A thin national skeleton teaches more than a knot of branch lines in one province.
Open with Bavaria into the Inn valley. Munich to Rosenheim, then Kufstein and Wörgl, ties the largest city to Tyrol without a fantasy alignment. Later, the run sketched in the showcase, from Bolzano through the valley to Merano and on toward Landeck, is the scenic extension, tunnels included. It is a third-stage project, not the line that has to earn your first million.
Semmering is the line many players will build for its own sake. Mürzzuschlag, Kindberg, and Bruck an der Mur are on the board, and the pass is shaped into the terrain. Some nearby villages are awkward to hit with a clean main line. Put the railway on the historic corridor and cover the side town with a bus.
Vienna to Bratislava is the easy passenger win: shorter, flatter, and obvious. Linz along the Danube is the freight companion, especially if a warehouse breaks the trip so alpine trains stay short. Lake Constance, with Bregenz and the German shore, is a later regional layer of buses and trams, not your day-one profit engine.
| Corridor | Mode | When | Why it works |
|---|---|---|---|
| Munich–Rosenheim–Kufstein–Wörgl | Rail, parallel road | First | Largest city into the Inn valley |
| Vienna–Bratislava | Passenger rail | First | Short, flat, easy to fill |
| Linz and the Danube | Rail and road | Second | Industry on relatively level ground |
| Semmering via Mürzzuschlag | Mountain rail, side buses | Second | Historic pass already in the terrain |
| Bolzano–Merano–Landeck | Rail with tunnels | Third | Long alpine run from the showcase |
| Bregenz and Lake Constance | Bus, tram, short rail | Later | Scenic regional layer |
Keep summit grades gentle. One signaled double track with passing loops beats four empty single lines. Rural roads can stay two-lane. Traffic in the base game will overtake and queue, so save real interchanges for Munich and Vienna. Add a loop at valley stations before you dream about quad track on a pass.
Industry Layout and Performance Limits
Cargo planning on Transport Fever 3 Austria punishes the random-map habit of linking every icon. For the land area, industry is sparse. Player experience from the showcase counts about six farms, two fish farms, four livestock farms, and four sawmills, plus a modest set of forests. You will not find a worksite behind every village.
The fish sites are memorable: one near St. Wolfgang, one at Neusiedl am See. A short spur into a warehouse beats a vanity port. Farm labels in the voiceover point at real districts, including Steirisches Vulkanland, Marchfeld, the Parndorfer Platte, Weinviertel, Innviertel, and Tullnerfeld. Spoken spellings may not match the in-game plaque, but the theme is deliberate.
Plants get the same care. The showcase names machinery sites after BMW Munich, Audi Ingolstadt, and BMW Dingolfing, and it points at a Linz industrial complex in a heavy-industry vein. Use those as anchors. Parts from Ingolstadt or Dingolfing into Munich are easy to read. A Linz flow can feed construction as your stations grow.
Warehouses matter because supply points are few. Stage a long haul in the Inn valley or near Bruck an der Mur so mountain trains stay short and a trunk train takes the flat run. Citizens are simulated one by one, so passenger service is not decoration. Serve Munich and Vienna first, then Linz, Klagenfurt, and Villach. A village of a dozen people gets a bus if it already sits on your road, not its own station.
| Asset | Count reported | Practical use |
|---|---|---|
| Farms | 6 | Long hauls; not one per valley |
| Livestock farms | 4 | Serve a nearby city, not the far border |
| Fish farms | 2 | St. Wolfgang area and Neusiedl am See |
| Sawmills | 4 | Early building materials only |
| Top cities | Munich, then Vienna | Main passenger profit |
| Named plants | Several | Bavarian auto sites and Linz industry |
A sane opening looks like this:
- Link one Bavarian auto plant to Munich.
- Send one farm toward either Vienna or Linz, not both.
- Drop a warehouse between them before you cross a pass.
- Add a sawmill only when you are actually building.
- Ignore the second fish farm until the first route is stable.
Maintenance, noise, and reputation still apply. Empty extra platforms cost money on a pretty map just as they do on a small one. Do not grow an isolated plant and expect a miracle. Production responds to workers and optional inputs, so a site with no people and no supply chain stays small.
Keeping the save playable
Long Transport Fever 3 Austria sessions are where this map gets risky. The same showcase that likes the scenery declines to play it as a main save. The host cites a Germany map in Transport Fever 2 that fell apart late, and calls this board even bigger. That is one player's experience, not a lab benchmark, and it is still the right warning. Nobody has published a universal frame-rate figure, so ignore single-number promises.
| Habit | Better choice | Usual mistake |
|---|---|---|
| Scope | One double-track spine and a few spurs | Track in every valley at once |
| Vehicles | Fewer, longer trains | Swarms of short consists |
| Cities | Grow Munich or Vienna first | Maxing every town in year one |
| Roads | Rural two-lane roads | Highway grids across the Alps |
| Graphics | Lower view distance if the camera stalls | Ultra detail on the full map |
| Saves | Keep a pre-expansion save | One save after a huge vehicle binge |
Pause and trace one corridor before you lay speculative track across a province. Use data layers to find real jams instead of widening every road. If the camera already stutters while you are only looking around, stop. Moving vehicles will cost more. Players who report smooth performance are the audience this map rewards. Everyone else can borrow the corridor list and rebuild a shorter version in the editor.
FAQ
Is Transport Fever 3 Austria an official region?
No. The giant alpine board covered here is a community upload credited in a showcase to a creator named Christian. The retail game supplies a map editor, random biomes, and a mod browser so regional projects like this can be shared. Confirm the live file in the browser, because community maps get replaced.
Can consoles run this Austria map?
Community reports say no. The size is the blocker, and even on PC you need a map-size unlock mod or a debug and config change described by mod authors. On a console, use the built-in editor or a smaller community map.
Why is the Austria file called version 10?
The showcase host could not find public versions 1 through 9 and treated the number as a private counter from development. Version 10 was the upload actually available. Judge the map by the current download, not by that digit.
How should a new player start without wrecking performance?
Use a relaxed or sandbox setting, unlock the large size, and build only Munich to the Inn valley plus a short Vienna–Bratislava service. Add Semmering and the South Tyrol tunnel run after those two earn money. Leave most farms unconnected until you need the cargo. That pacing matches the thin industry list and the warnings from players burned by oversized maps before.
Related Guides
Transport Fever 3 Beginner Guide: Tips for New Players
Our Transport Fever 3 beginner guide covers routes, depots, demand-driven cargo, and money tips so your first transport empire actually turns a profit.
Transport Fever 3 Bus Lines: The Complete Setup Guide
Learn how to design profitable Transport Fever 3 bus lines with smart stop placement, line routing, and fleet sizing tips for growing cities.
Transport Fever 3 Campaign Guide: Saving Mardi Gras
A full walkthrough of the first Transport Fever 3 campaign mission, Saving Mardi Gras, covering objectives, tips, and how to earn all three stars.
Transport Fever 3 Curved Stations: Full Guide
Everything we know about curved stations in Transport Fever 3, the history of the beloved TF1 mod, and how to get curved track layouts working today.