Transport Fever 3 Beginner Guide: Tips for New Players
Our Transport Fever 3 beginner guide covers routes, depots, demand-driven cargo, and money tips so your first transport empire actually turns a profit.
Starting a transport company in Transport Fever 3 can feel overwhelming — dozens of vehicle types, sprawling maps, and an economy that doesn't behave like most management games. This Transport Fever 3 beginner guide walks you through your first hours step by step, from reading a town's needs to keeping your vehicles full and profitable. Whether you're coming from Transport Fever 2 or jumping in fresh, understanding the core loop early will save you from the most common new-player mistake: building big, expensive networks that slowly bleed cash.
Understand the Demand-Driven Economy First
Before you lay a single track, you need to understand how money actually moves in this game. Unlike older tycoon titles where supply automatically creates demand, Transport Fever 3 uses what veteran players describe as a "delivery economy." You aren't selling goods — you're a courier. A shipper pays you to move cargo to a buyer, but only if that buyer can actually profit from receiving it. If the endpoint can't sell the goods, nobody pays for the delivery, and your train runs empty.
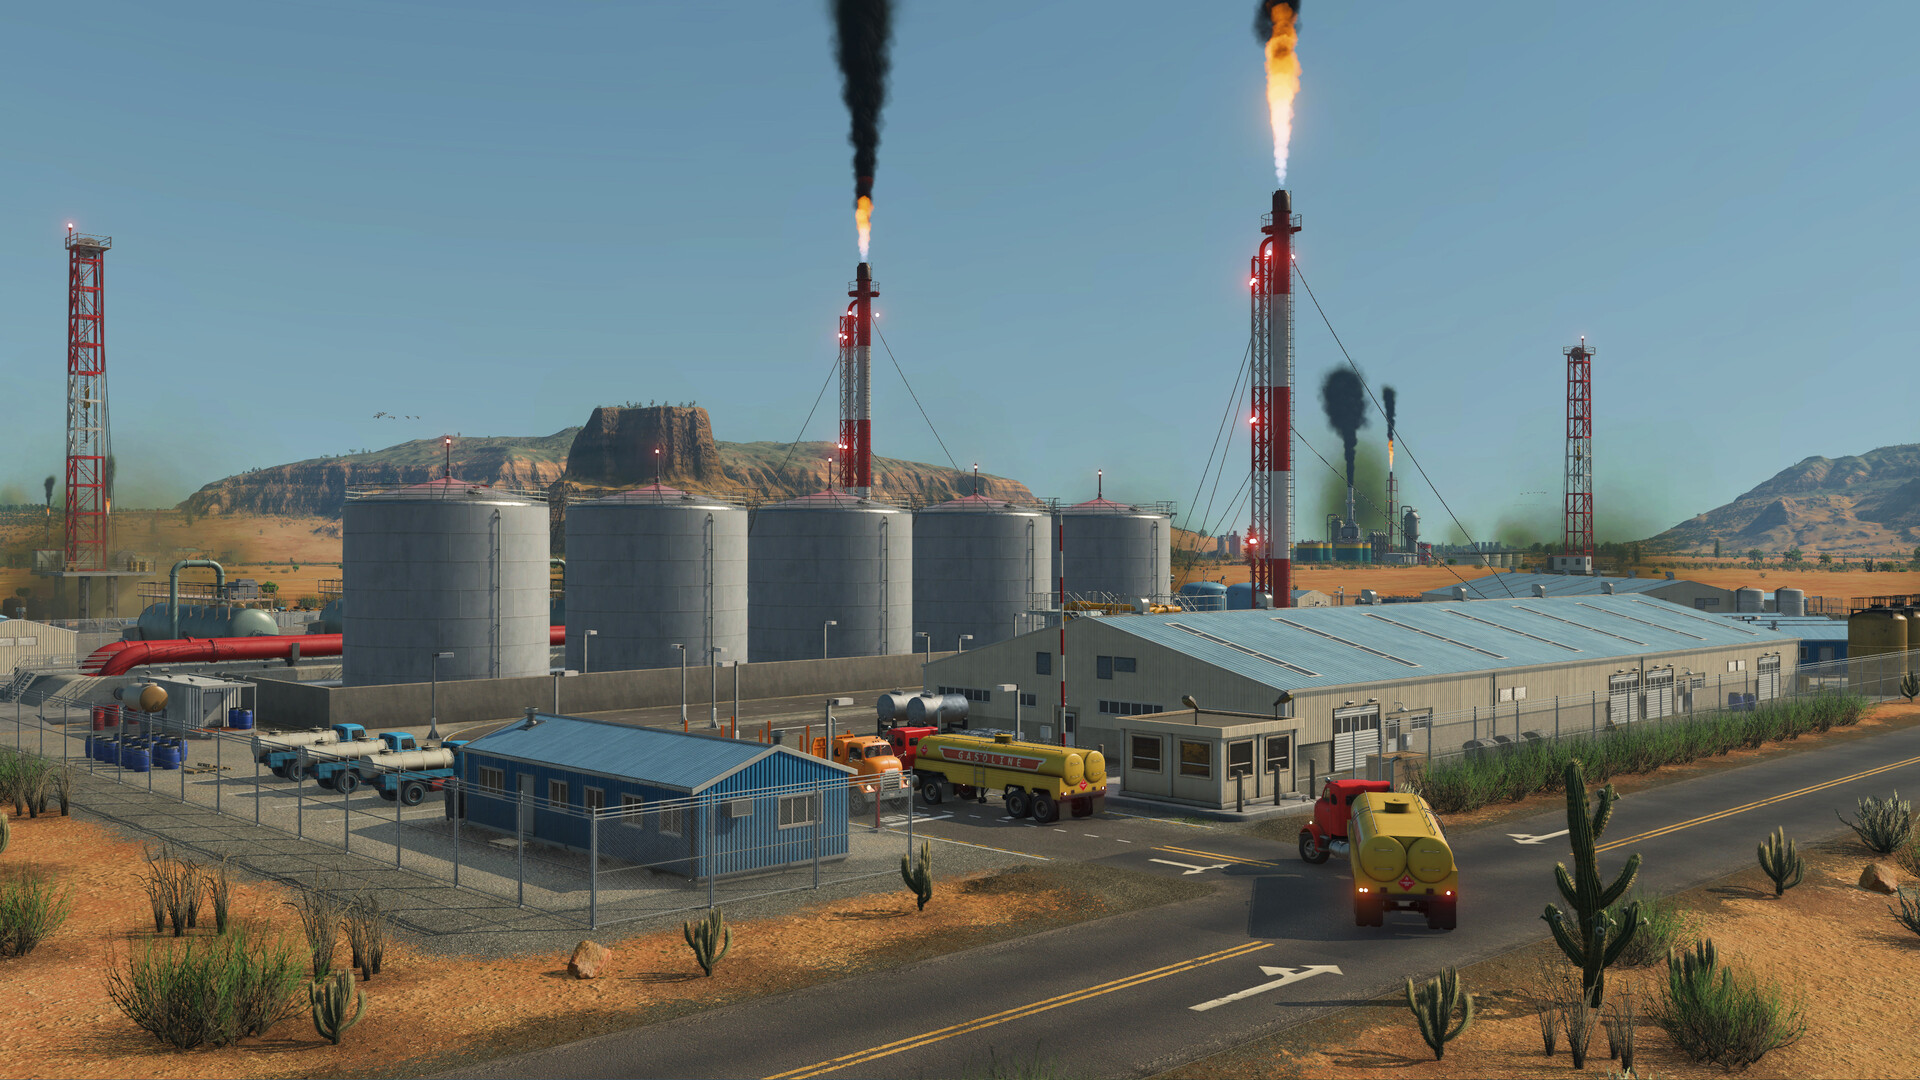
Official screenshot · Source: Steam store
Community discussions from the Transport Fever series on Steam consistently highlight this as the number-one reason new players fail: they build "forward and store" networks, dumping cargo at stations with no demand on the other end. The result is empty vehicles, negative balance sheets, and frustration that gets blamed on bugs. It's not a bug — it's the demand chain, and you control it.
Practical takeaway: Before connecting any industry, confirm there's a buyer at the far end. Iron mine → tool works is worthless if the tool works has nowhere to ship its tools.
Your First Hour: A Step-by-Step Plan
Here's a proven opening sequence that balances early cash flow with manageable risk:
| Step | Action | Why It Matters |
|---|---|---|
| 1 | Pause the game immediately | Gives you time to plan without money draining |
| 2 | Open the Supplies panel of a target town | Shows requested cargo and underserved passenger areas |
| 3 | Use the district overlay | Identifies residential, commercial, and industrial zones for stop placement |
| 4 | Build one compact passenger loop | Cheap, steady income while you learn the interface |
| 5 | Add one short cargo route | Higher profit ceiling once you've validated demand |
| 6 | Watch metrics before expanding | Confirms the line actually needs more capacity |
Choosing Your First Route
Your first passenger route doesn't need to cover every street. Use the coverage radius circles that appear when placing road stops and make sure key buildings fall inside them. A compact loop connecting residential, commercial, and industrial districts is plenty on a tight budget. According to player experience with the series, the sweet spot for town bus lines is two to four routes of roughly 8–10 stops each, all funneling into a station that feeds an intercity line.
Intercity passenger connections — by train or bus — are another reliable early income source. They're simple to set up and generate decent revenue, though they can't match industry money once your cargo chains mature.
Depot and Infrastructure Placement
Where you put your first depot matters more than most beginners realize.
| Placement Rule | Do | Don't |
|---|---|---|
| Distance to route | Close enough that vehicles don't travel far empty | Far away, wasting fuel and time each cycle |
| Location type | Industrial edge or open land | Dense residential zones (noise and pollution penalties) |
| Freight stations | Inside the catchment range of the target factory | Just outside, hoping a depot transfer fixes it |
| Town depots | Use a bus stop as a cheap cargo endpoint | Demolish buildings for a truck depot (you pay for every one) |
That last point is a classic community tip: a bus stop can double as a delivery point in town, avoiding demolition costs entirely. Also, be honest about catchment ranges. If a freight station sits outside a factory's catchment area, cargo won't transfer the way you expect — simplify the line and move the station closer rather than layering on workaround depots.
Cargo Lines: Build the Whole Chain
The demand-driven economy has a big consequence: you generally need the entire chain operational for anything to flow. If there's no buyer for tools, the tool factory won't buy iron, which means the iron mine won't pay you to haul anything.
That said, veteran players note an important nuance — factories have small on-site storage buffers. This buys you a little time to build each link of the chain while the output store fills, which can generate just enough early income to fund the next piece. Don't rely on it for long, though; those buffers fill fast.
Reading the Manifest When Things Stall
If cargo isn't moving, open the depot or station window and check the details tab. This manifest shows which goods are assigned to which lines. Players regularly discover that "stuck" cargo is actually reserved for a different line — and no cargo is assigned to the line they expected because demand broke somewhere further down the chain. Fix the demand side and everything starts moving again.
Common chain problems and fixes:
| Symptom | Likely Cause | Fix |
|---|---|---|
| Train leaves cargo behind at the station | Cargo assigned to a different line | Check the manifest; repair downstream demand |
| Trucks haul goods to the wrong place | Competing demand within the depot's catchment | Move the depot away from conflicting buildings |
| Iron never reaches the factory | Station outside catchment range | Simplify: relocate the station closer |
| Factory won't accept deliveries | No buyer exists for its output | Extend the chain to a town or another industry |
Manage Capacity Like an Economist
Once vehicles are running, resist the urge to flood the line with more equipment. Let it operate for a while, then review the line's metrics: capacity, utilization, frequency, rate, and balance. These numbers tell you whether more capacity is genuinely needed.
Long-time players recommend making small adjustments and letting the network settle. Add a car or two rather than a whole train, then observe. The economy is one interconnected system — a single small change sends ripples through everything downstream. Your goal is a stable system where fluctuations shrink over time, not one where oscillations grow until something runs dry.
Two more capacity rules from community experience:
- Keep vehicles full in at least one direction. A large train hauling a light load still pays full maintenance, and that's a recipe for losses. On profitable lines, aim to haul full loads both ways.
- Don't rush upgrades. New vehicle tiers look tempting, but wait until demand justifies the extra capacity and running costs.
Traffic, Roads, and Long-Term Health
As your town networks grow, congestion becomes a real economic threat. If your trucks and buses can't move through town, residents switch to cars, traffic worsens, and your whole economy grinds down. Proactive fixes include:
- Upgrading roads (budget for buying out displaced buildings)
- Installing dedicated bus lanes
- Auditing intersections — long signal phases kill throughput
- Watching factory "potential" values over time to spot underperforming chains
One encouraging note from player reports: multiple transport modes don't cannibalize each other. In one widely cited campaign example, players running trains, planes, buses, and ferries on overlapping corridors found that each new service actually attracted more passengers overall. Don't be afraid to layer modes as demand grows.
Quick-Reference: Beginner Do's and Don'ts
| Do | Don't |
|---|---|
| Pause and inspect a town's Supplies panel before spending | Place stops randomly hoping something sticks |
| Start with one truck or small bus | Launch a massive network on day one |
| Build complete cargo chains with verified buyers | Haul cargo to endpoints with no demand |
| Check line metrics before adding vehicles | Buy new vehicles on impulse |
| Simplify broken chains by shortening them | Blame bugs and rebuild everything |
FAQ
What's the biggest mistake new players make in Transport Fever 3? Building supply without demand. Goods only move when a buyer exists at the destination who can profit from them. Always verify the far end of a chain before hauling anything.
Should I start with passengers or cargo? Start with a simple passenger loop — it's cheap, forgiving, and generates steady income. Add a short cargo route once you understand demand signals, since industry eventually outearns passengers.
How do I know when to add more vehicles to a line? Watch the line's capacity, utilization, frequency, rate, and balance metrics. If utilization is consistently high and frequency is slipping, add capacity gradually — a car or two at a time — and let the network settle.
Is this Transport Fever 3 beginner guide relevant for campaign missions? Yes. The demand-chain principles apply everywhere, though in campaigns don't chase every medal requirement on your first playthrough — some combinations, like beating a time limit while avoiding loans, can strain an early economy badly.
Related Guides
Transport Fever 3 Bus Lines: The Complete Setup Guide
Learn how to design profitable Transport Fever 3 bus lines with smart stop placement, line routing, and fleet sizing tips for growing cities.
Transport Fever 3 Campaign Guide: Saving Mardi Gras
A full walkthrough of the first Transport Fever 3 campaign mission, Saving Mardi Gras, covering objectives, tips, and how to earn all three stars.
Transport Fever 3 Curved Stations: Full Guide
Everything we know about curved stations in Transport Fever 3, the history of the beloved TF1 mod, and how to get curved track layouts working today.
Transport Fever 3 Fish: How to Set Up a Fishing Route
Learn how to build a profitable Transport Fever 3 fish supply chain — ports, warehouses, boats, and worker boosters explained step by step.