Transport Fever 3 Bus Lines: The Complete Setup Guide
Learn how to design profitable Transport Fever 3 bus lines with smart stop placement, line routing, and fleet sizing tips for growing cities.
Why Bus Lines Matter in Transport Fever 3
Transport Fever 3 bus lines are the backbone of any early urban network. While trains and ships move freight and long-distance passengers, buses are your cheapest, most flexible tool for connecting citizens to jobs, stations, and each other. Since the game launched on September 29, 2026, one thing has become clear immediately: towns in the expanded living simulation grow fast, and every citizen has a home, a job, and places to go. If your public transport can't keep up, they buy cars, clog your roads, and your carefully planned city grinds to a halt.
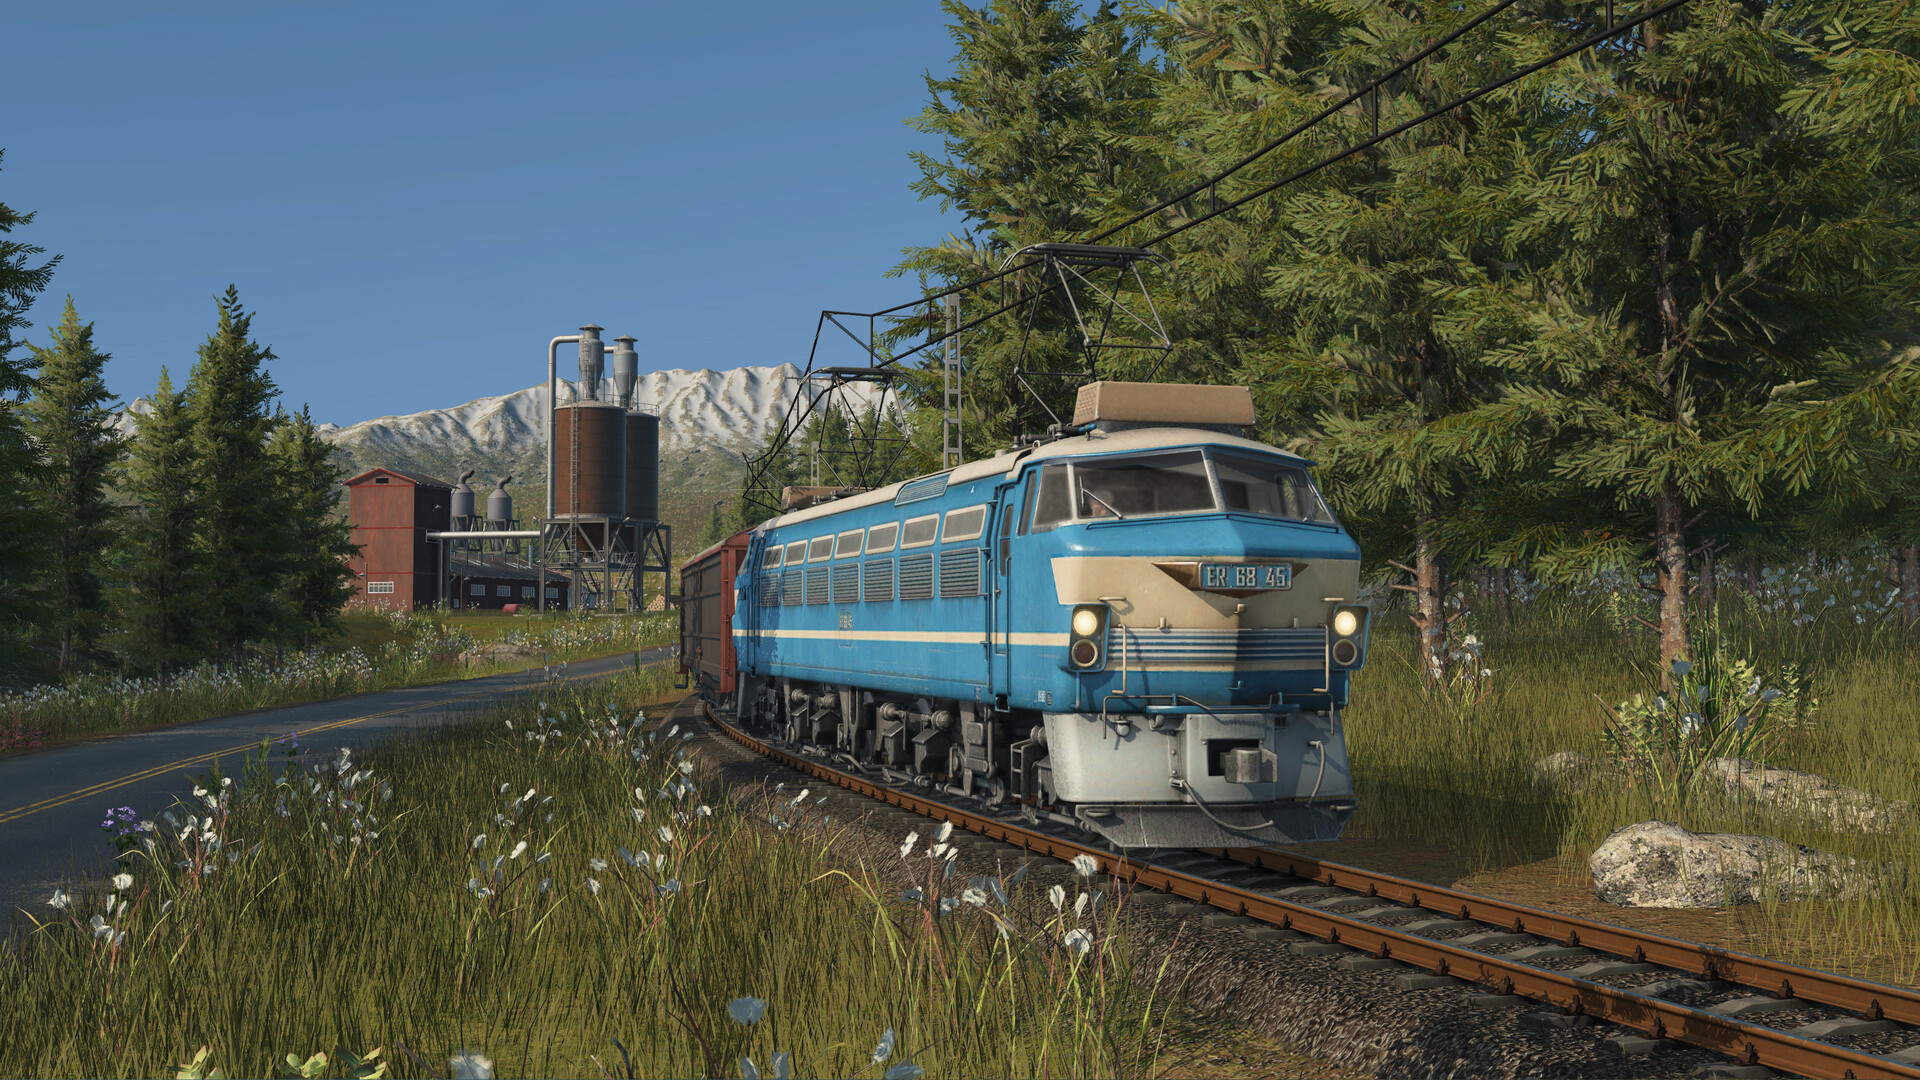
Official screenshot · Source: Steam store
Buses also feed your profitable intercity lines. A well-designed local bus network delivers passengers to your train stations and harbors, which means higher load factors and better revenue on the lines that actually make money. In short, mastering bus lines early pays dividends for the next 125 years of in-game transport evolution.
Understanding Stop Coverage and Catchment Areas
The single most misunderstood mechanic in urban transport is stop coverage. Community reports from the series—principles that carry over into Transport Fever 3—describe stop influence as a fading radius: buildings directly at the stop fall within full catchment, while buildings further away receive progressively less coverage, down to zero at the outer edge.
What this means in practice:
- Coverage is not binary. A citizen at the edge of a stop's radius is far less likely to use it than one standing next to it.
- Citizens are "lazy." Long-standing player experience shows that sims prefer waiting at a nearby stop over walking to a better one, which can create odd routing behavior if stops overlap carelessly.
- More stops genuinely help. Shorter walking distances increase ridership, and higher ridership means fuller buses and better line rate.
| Coverage Concept | What It Means | Practical Takeaway |
|---|---|---|
| Full catchment (inner radius) | Buildings get maximum benefit from the stop | Place stops near dense residential blocks |
| Fading radius | Effectiveness drops with distance | Don't assume edge-of-radius buildings will ride |
| Overlapping stops | Two stops cover the same buildings | Fine for shortening walks, but avoid redundancy |
| Catchment boundaries | The visualized area shown when placing a stop | Use it to guarantee whole-street coverage |
How Many Stops Should You Use?
A common veteran recommendation from community guides: in the early years, keep lines short—around five stations each way, or roughly ten stops total per line. As the decades pass and vehicles become more capable (and more expensive), longer lines with more stops become viable.
| Era | Recommended Stops per Line | Line Style |
|---|---|---|
| Early game (from 1900) | Up to 5 stops each direction | Short, straight shuttle routes |
| Mid game (mid-century) | 6–10 stops each direction | Lines linking districts to stations |
| Late game | Longer routes, or convert to trams | Trams and light rail take over trunk routes |
Two placement philosophies dominate the community, and both have merit:
- Dense placement. Stops at intersections and along every major street, with stops on both sides of the road. Maximizes ridership and keeps citizens out of their cars.
- Minimal placement. Just enough stops so their catchment areas tile the whole town. Cheaper to build, but relies on citizens accepting longer walks.
The community consensus leans toward denser placement as towns grow: if citizens face long walks plus slow or indirect lines, they switch to cars—and once car traffic takes hold, your roads and your bus lines both suffer.
Designing the Route: Loops, Radials, and Straight Lines
Route shape matters as much as stop count. Here are the three core patterns and when to use each.
| Route Pattern | Best For | Pros | Cons |
|---|---|---|---|
| Straight line (A to B) | Connecting station ↔ residential ↔ industrial | Fast, direct, easy to read | Limited coverage per line |
| Clockwise/counter-clockwise loops | Serving the town boundary and outer streets | Full coverage with two lines | Traffic circles are slow; hilly towns may not allow them |
| Radial lines through the center | Larger towns with distinct districts | Direct paths, high usage | More lines needed |
A proven approach shared by players: anchor your bus hub next to your train station, then run one loop clockwise through residential and industrial districts and another counter-clockwise through residential and commercial areas. Others argue that at least one line should cut straight through the town center—pure ring lines around the perimeter tend to underperform because nobody's trip is actually a perfect circle.
Routing rules of thumb:
- Avoid zigzag routes; straight lines are faster and more attractive to riders.
- Keep stop spacing around 1.5 city blocks in dense areas.
- Revisit your lines every few decades—what works in 1900 won't survive urban growth in 1950.
Feeding Your Stations: The Hub-and-Spoke Strategy
Local bus lines rarely make huge profits on their own, and that's fine—their real job is feeding your intercity network. The classic setup pairs buses with every major station:
| Feeder Target | Bus Line Purpose | Expected Result |
|---|---|---|
| Train station | Deliver passengers to intercity rail | Higher train load factors |
| Passenger harbor | Connect waterfront districts to ship lines | Stronger ship line revenue |
| Airport (late game) | Long-distance passenger distribution | Full planes, better margins |
One nuance from player experience: some players deliberately place bus stops at the edge of a station's catchment area rather than directly in front of it, forcing arriving passengers to walk the last stretch instead of boarding another bus. Others insist a stop right at the station entrance is perfectly fine. Experiment with both—use the town's data overlays to check line usage percentages and let the numbers decide.
Managing Fleet Size and Line Performance
Once your route is drawn, vehicle management determines profitability. Every bus on the line earns money but also adds maintenance cost, so the goal is matching frequency to demand.
| Symptom | Likely Cause | Fix |
|---|---|---|
| Low line rate, crowded vehicles | Not enough vehicles | Add buses until wait times drop |
| High costs, near-empty buses | Over-supplied frequency | Remove vehicles; consider longer line |
| Uneven loading along the route | Poor stop order or redundancy | Reorder stops or split the line |
| Passengers waiting but not boarding | Line doesn't reach their destination | Extend the line or add a transfer point |
Use the town screen and data layers to monitor line usage. If a line hovers near break-even but is visibly emptying the streets of cars and feeding your rail hub, it's doing its job. If it's losing money with empty buses, cut frequency before you rip out stops.
As your city swells through the eras, remember that Transport Fever 3 includes trams, light rail, and even dedicated cargo trams. When a bus line consistently maxes out, upgrading the corridor to tram infrastructure is often the natural next step.
FAQ
How many bus lines does a starting town need in Transport Fever 3? Most small towns do well with two lines: one through the main districts and a loop or second line covering the outskirts. Anchor both at your train station or another intercity hub so passengers can transfer efficiently.
Should bus stops be close together or far apart? Community experience favors moderately dense placement—roughly every 1.5 city blocks—because shorter walks increase ridership. Sparse coverage saves money upfront but pushes citizens toward cars as the town grows.
Do bus lines need to be profitable? Not necessarily. Local buses often break even while dramatically boosting the performance of your trains, ships, and later aircraft by filling them with transferring passengers. Judge them by their network impact, not just their income statement.
When should I replace bus lines with trams? When a corridor's line rate is consistently high and you're stacking more and more buses onto it, that's the signal. Trams carry more passengers per vehicle and run on dedicated lanes, solving both capacity and congestion issues.
For the full official feature list and details on the game's transport systems, check out the official Transport Fever 3 page on Steam.
Related Guides
Transport Fever 3 Beginner Guide: Tips for New Players
Our Transport Fever 3 beginner guide covers routes, depots, demand-driven cargo, and money tips so your first transport empire actually turns a profit.
Transport Fever 3 Campaign Guide: Saving Mardi Gras
A full walkthrough of the first Transport Fever 3 campaign mission, Saving Mardi Gras, covering objectives, tips, and how to earn all three stars.
Transport Fever 3 Curved Stations: Full Guide
Everything we know about curved stations in Transport Fever 3, the history of the beloved TF1 mod, and how to get curved track layouts working today.
Transport Fever 3 Fish: How to Set Up a Fishing Route
Learn how to build a profitable Transport Fever 3 fish supply chain — ports, warehouses, boats, and worker boosters explained step by step.