Transport Fever 3 Fish: How to Set Up a Fishing Route
Learn how to build a profitable Transport Fever 3 fish supply chain — ports, warehouses, boats, and worker boosters explained step by step.
Fishing is one of the trickiest new industries to crack in Transport Fever 3. Fish can't be loaded or unloaded the way you'd expect from earlier games, and the rules around ports, warehouses, and line configuration trip up nearly every new player — including Urban Games' own developers. This guide walks you through the entire Transport Fever 3 fish supply chain, from prospecting a fishing ground to delivering the catch to a hungry town, based on gameplay experience and community reports from launch week.
Why Transport Fever 3 Fish Works Differently Now
The single biggest change: ports and stations no longer store cargo. In Transport Fever 2, you could dump fish at a port and sort it out later. In Transport Fever 3, cargo only unloads if it has a valid destination — a factory, an end consumer like a town's commercial district, or a warehouse.
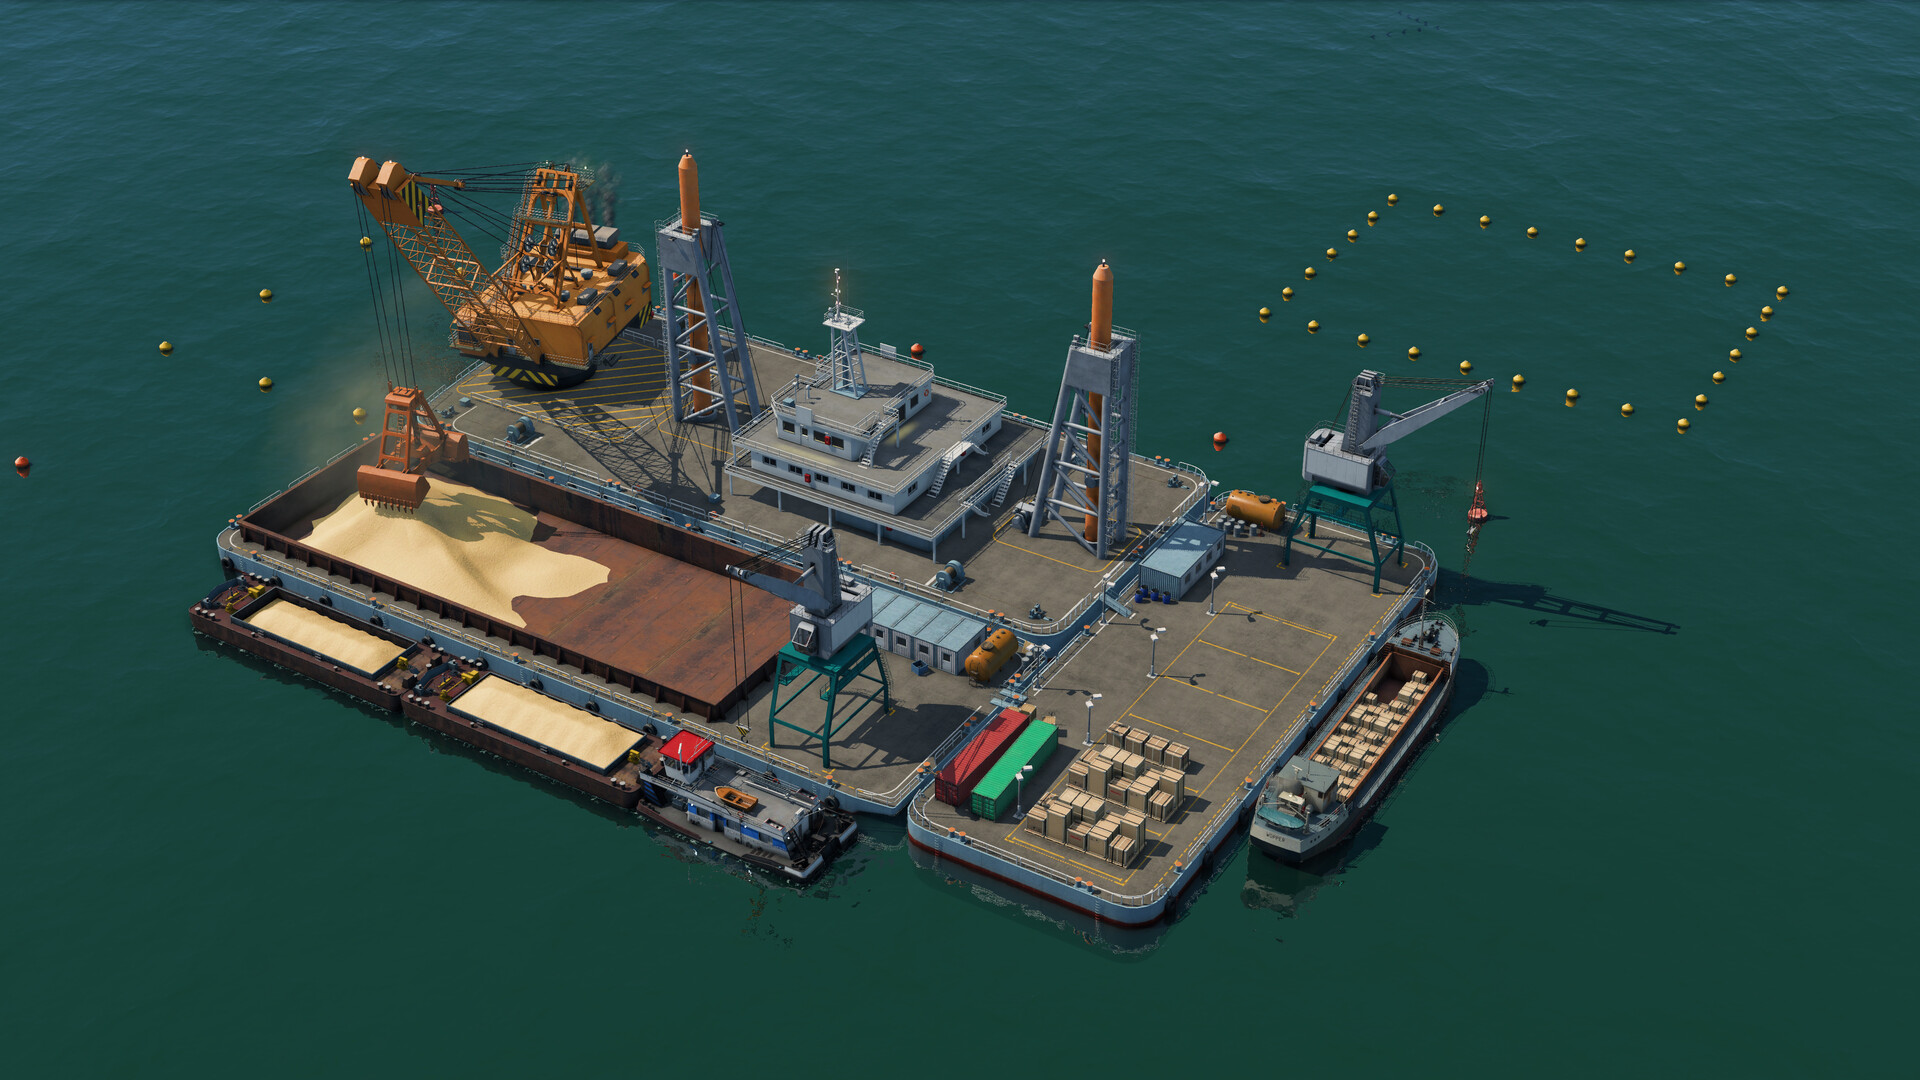
Official screenshot · Source: Steam store
Urban Games developer UG-Sam confirmed this on the official Steam forums, coining what became a community running gag: "Welcome to the Fish Warehouse club." Even he admitted he confidently reported ports as broken when his fish wouldn't unload during his first playthrough. If you're staring at a cargo boat that refuses to drop its load, you're in good company — and the fix is simple.
The Golden Rule of Fish Logistics
Every fish shipment needs a destination chain:
| Stop | Role | Notes |
|---|---|---|
| Fishing ground | Origin | Loads fish onto cargo boats |
| Cargo port | Transfer point | Cannot store fish — needs a nearby warehouse |
| Warehouse | Storage buffer | Must sit within the port's catchment area |
| Universal cargo station | Final road pickup | Configure to specialize in fish for faster loading |
| Town commercial district | End consumer | Trucks deliver from the cargo station |
Step-by-Step: Building Your First Fish Route
Here's the process, distilled from gameplay experience and player reports, broken into clear stages.
Step 1: Prospect for Fish
You unlock fish prospecting by ranking up from junior to the mechanic tier. Once unlocked, open the prospector tool and select a town to scan for unexploited fish occurrences nearby. If nothing turns up, prospecting can effectively force a new fishing ground industry into existence — a neat mechanic that lets you shape your map's economy.
Step 2: Place Your Port and Ship Depot
Choose the nearest coastal town that already consumes fish — check the town's supply panel; fish goes to the commercial district. Then build:
| Building | Purpose | Cost Consideration |
|---|---|---|
| Ship depot | Home base for your boats | Expensive; may temporarily ding reputation |
| Small cargo port | Boat loading/unloading | Place close to road access |
| Warehouse | Fish storage | Must be in port catchment — the #1 mistake |
| Road depot | Spawns delivery trucks | Put it near both port and town |
Step 3: Configure Your Lines Correctly
This is where most players fumble. You need two separate cargo lines, and both must be told to load fish, not passengers:
- Ship line: set to load fish at the fishing ground and unload at the cargo port. Player experience shows the most common error is reversing these — boats try to load fish at the port instead of the fishing ground, resulting in the "cargo type cannot be loaded anywhere" error.
- Truck line: set to load fish at the universal cargo station near the warehouse and unload at the town's commercial district.
A community report from the Steam forums highlights a second classic mistake: setting the line to "load" at the delivery stop instead of "unload," so trucks drive around forever with cargo still aboard. Always double-check the load/unload toggle at every stop.
Step 4: Specialize Your Stations
Universal cargo stations accept everything but load slowly. Once fish starts flowing, upgrade one terminal to specialize in fish — this boosts loading speed for your trucks. You can also configure stops to unload on both sides by selecting alternate terminals, which keeps traffic moving in busy towns.
Sending Workers to the Fishing Grounds
Fishing grounds (like all industries) produce more when workers are delivered. Community-documented setups show a two-leg passenger route does the job:
- Road leg: passenger stop in the town's residential area, connected by a passenger road line to the port.
- Water leg: a separate passenger boat line from the port to the fishing grounds. Keep it distinct from the cargo fish route — a cargo boat will not deliver workers.
- Assign vehicles to both lines. A line without vehicles moves nobody.
- Verify in the Boosters panel. Once workers arrive, the worker booster turns green, and player reports show efficiency gains of up to 140% when combined with other inputs.
| Problem | Likely Cause | Fix |
|---|---|---|
| No passengers start the trip | Stop too far from homes | Move the road stop into the residential area |
| Passengers reach port but not the grounds | Wrong boat type | Use a passenger boat, not a cargo boat |
| Workers never register | Stop too far from the building | Nudge the final stop closer to the fishing ground |
Profitability: What to Expect
Is fishing worth the investment? Based on one player's documented campaign, yes — the shipping route turned profitable once deliveries stabilized, though road networks out-earned it. Key takeaways:
| Factor | Insight |
|---|---|
| Boat capacity | A 20-cargo boat is enough for a single-town route |
| Frequency | Consistent 20-unit deliveries beat sporadic large loads |
| Upgrades | Higher-capacity steam trucks (10 units) replaced fleets for ~1.1 million in one player's run |
| Overdelivery | Shipping more fish than demand wastes capacity — one town is often enough to start |
Don't rush a second fishing route. One gameplay example showed the first ground didn't produce enough surplus until workers and efficiency boosts (tools, fertilizer) ramped up production. Grow the town first — more residents means more commercial demand and fuller passenger lines.
Common Fish Problems and Fixes
| Symptom | Explanation | Solution |
|---|---|---|
| "Cargo type cannot be loaded anywhere" | Load/unload directions reversed on the line | Swap the load stop to the fishing ground |
| Boat can't unload at port | No warehouse in port catchment | Build a warehouse adjacent to the port |
| Fish won't unload in town | Commercial demand already full | Click individual buildings to check fill status (per the developer on Steam) |
| Trucks circle with full loads | Stop set to "load" instead of "unload" | Reconfigure the line's stop directions |
If demand is genuinely full, the developer suggests clicking supplied buildings to confirm — towns consume fish over time, so patience or a second consumer town solves it. It's also worth noting fish feeds into the canning factory chain (fish + meat + sheet metal = canned food), which towns like the largest cities demand as they grow.
FAQ
Why won't my fish unload at the port in Transport Fever 3? Ports no longer store cargo. Build a warehouse within the port's catchment area so the fish has a valid destination, then have trucks pick it up from a nearby cargo station.
Do I need a special boat for fish? Cargo boats that list fish as a carried good work fine — a small 20-capacity vessel is plenty for a single fishing ground. For workers, you need a separate passenger boat line.
How do I find fish if none spawns near my towns? Rank up to the mechanic tier to unlock prospecting, then scan near a specific town. Prospecting can reveal — or even help establish — unexploited fish occurrences.
Is the fish industry profitable in Transport Fever 3? Community reports say yes, once the route stabilizes. It typically earns less than road cargo, but it grows towns, feeds the canning industry, and pairs well with passenger lines to the same destinations.
Related Guides
Transport Fever 3 Beginner Guide: Tips for New Players
Our Transport Fever 3 beginner guide covers routes, depots, demand-driven cargo, and money tips so your first transport empire actually turns a profit.
Transport Fever 3 Bus Lines: The Complete Setup Guide
Learn how to design profitable Transport Fever 3 bus lines with smart stop placement, line routing, and fleet sizing tips for growing cities.
Transport Fever 3 Campaign Guide: Saving Mardi Gras
A full walkthrough of the first Transport Fever 3 campaign mission, Saving Mardi Gras, covering objectives, tips, and how to earn all three stars.
Transport Fever 3 Curved Stations: Full Guide
Everything we know about curved stations in Transport Fever 3, the history of the beloved TF1 mod, and how to get curved track layouts working today.