Transport Fever 3 Industries: Full Guide to Cargo & Economy
A complete guide to Transport Fever 3 industries, cargo chains, warehouses, and demand-driven production. Learn how to build profitable supply networks.
Why Transport Fever 3 Industries Change Everything
The industries in Transport Fever 3 aren't just backdrops for your rail lines — they're the beating heart of a completely reworked economy. Urban Games has rebuilt the cargo and production systems from the ground up, meaning Transport Fever 3 industries now grow, adapt, and respond to your delivery decisions in ways the series has never attempted before. If you want to master tycoon mode, understanding how these production chains work is non-negotiable.
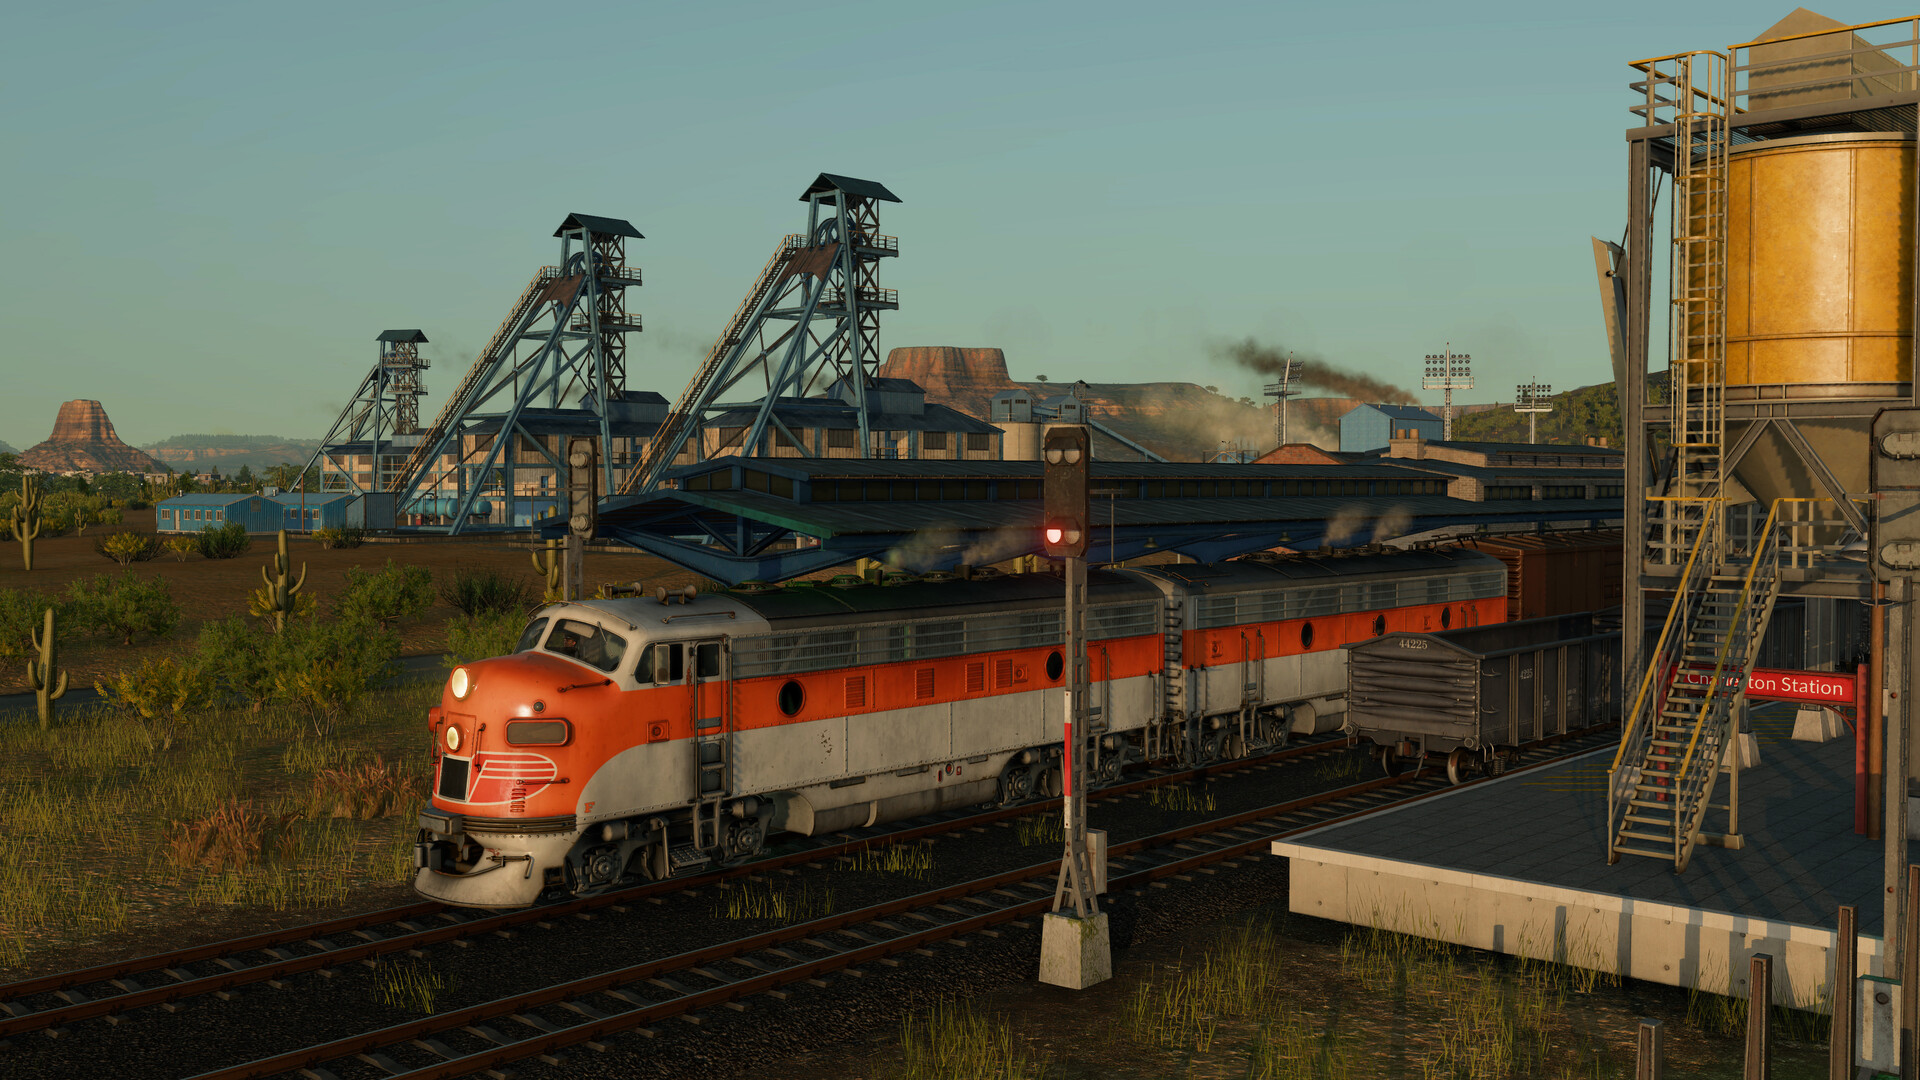
Official screenshot · Source: Steam store
In this guide, we'll break down everything revealed so far about Transport Fever 3 industries: demand-driven expansion, multi-stage production, warehouses, modular station upgrades, offshore sectors, and the risk-versus-reward contracts that tie it all together.
What's New: Over 35 Industries With Demand-Driven Growth
The headline change is scale and dynamism. According to the official Steam page, Transport Fever 3 features more than 35 unique industries, including offshore sectors like fishing grounds and oil platforms. That's a significant jump from previous entries, and the way they behave has changed even more than the number.
Key mechanics revealed in Urban Games' "First Look: Industries and Cargo" video:
- Demand-driven expansion: Industries open new facilities in response to production demand from your settlements.
- Growth through use: The more you rely on a raw-material supplier, the larger and more productive it becomes.
- Early simplicity, late complexity: Young settlements only need a few basic goods to start growing, but bigger populations demand more variety and volume.
- Multi-stage production: Complex goods like books require you to manage every stage of their production chain, not just a single delivery.
The strategic implication is huge. If you starve an industry of traffic early on, it may never grow to the size you'll need later. Conversely, planning routes around future expansion — rather than current demand — is how you avoid bottlenecks.
Settlement Needs by Climate Zone
Where you build matters as much as how you build. Products required by cities vary depending on your environment, and each of the four climate zones demands a genuinely different logistics strategy. A tropical agricultural economy and large-scale desert mining require completely different approaches to routing, vehicle choice, and infrastructure.
| Climate Zone | Likely Economy Focus | Logistics Challenge |
|---|---|---|
| Temperate | Balanced farming and manufacturing | Dense terrain, mixed traffic |
| Subarctic (new) | Resource extraction | Harsh conditions, long distances |
| Desert | Large-scale mining operations | Sparse supply sources, extreme routes |
| Tropical islands | Agriculture plus offshore industries | Sea transport integration, island hopping |
A single settlement can require up to 12 different final products at full size. Keeping that many supply chains flowing simultaneously is the core late-game puzzle, and it's why the new cargo mechanics matter so much.
The New Cargo and Supply Chain Mechanics
Transport Fever 3's redesigned cargo simulation gives you full control over loading and unloading — and introduces a clever convenience with a catch. Trucks can now run an entire transport leg inside a single industry, connecting internal production stages automatically. It's fast to set up, but slow to operate. For high-volume lines, you'll still want dedicated external routes.
Consider the brewery example from the reveal video:
| Step | Cargo | Source | Notes |
|---|---|---|---|
| 1 | Grain | Farm | Building the access road alters the surrounding terrain |
| 2 | Sand | Offshore/sea route | Needs intermediate storage before pickup |
| 3 | Glass bottles | Glassworks | Fed by sand deliveries |
| 4 | Drinks | Brewery | Final product delivered to town |
That sand step introduces another new system: warehouses as logistics hubs.
Warehouses: Your Logistics Control Centers
Warehouses in Transport Fever 3 are more than storage — they're distribution hubs that pool resources from multiple locations. Before trucks collect the sand arriving by sea, for example, you need somewhere to stage it. A large-capacity warehouse solves exactly that problem.
You can specialize warehouses for maximum efficiency:
| Warehouse Type | Best For |
|---|---|
| Liquid storage | Fuel, chemicals, beverages |
| Bulk materials | Grain, sand, ore |
| Final products | Consumer goods awaiting distribution |
| Flatbed parts | Machinery and construction components |
| Unspecified | Flexibility when your cargo mix is unpredictable |
Specialization boosts throughput, but a general-purpose warehouse keeps your options open. Choose based on how stable your supply chains are.
Modular Stations and the Efficiency Trade-Off
Station modules return in expanded form. Adding a dedicated bulk-materials module to a truck stop increases loading speed, and pairing it with trucks specialized for bulk cargo speeds shipments up even further. But there's a price: modules occupy more land and generate more pollution.
This is a recurring design theme. Every efficiency gain in Transport Fever 3 comes with a cost — land, pollution, or money. Over-terraform or remove too many tiles while building roads, and community reports from the reveal suggest you can damage the future productivity of the very industries you're trying to serve.
Boosting Production Beyond Normal Capacity
Once your operation scales up, a single raw-material supplier won't keep pace. The new system lets you push industries beyond their normal output by supplying optional inputs:
- Additional workers for the industry
- Specialized products like machine parts
Industries function fine without these extras, but boosting them is usually cheaper than rushing to acquire a second industry you don't fully need yet. It's a genuine strategic decision: invest in boosting, or expand your network?
Subsidized Contracts: Risk vs. Reward
The dynamic contract system returns with a sharper edge. During construction of a known supply chain, you can accept a special subsidy contract for bonus rewards — but if you fail to complete the project, the subsidy converts into a penalty. Classic risk versus reward, and a great fit for confident planners who know exactly what they intend to build.
Efficiency and on-time delivery combine to affect settlement happiness, which drives population growth — but Urban Games has saved that topic for a future reveal.
Quick-Reference: Industry Tips at a Glance
| Tip | Why It Matters |
|---|---|
| Use raw-material industries early and often | They grow with demand, becoming future capacity |
| Don't over-clear terrain when building | Excess land removal can hurt future productivity |
| Specialize warehouses when chains are stable | Higher throughput at dedicated hubs |
| Keep internal industry truck lines short | Convenient but slow — upgrade busy legs to external routes |
| Add bulk modules only on high-volume lines | Land and pollution costs outweigh gains on small routes |
| Accept subsidy contracts only on planned builds | Failure turns the bonus into a penalty |
FAQ
How many industries are in Transport Fever 3?
Over 35 unique industries, including offshore sectors such as fishing grounds and oil platforms. A single settlement can require up to 12 different final products at full growth.
Do Transport Fever 3 industries grow over time?
Yes. Industries expand by opening new facilities in response to demand, and raw-material suppliers grow larger the more frequently you use them.
What do warehouses do in Transport Fever 3?
Warehouses act as cargo hubs for intermediate storage and distribution. They can be specialized for liquids, bulk goods, final products, or flatbed parts — or left general-purpose for flexibility.
Are offshore industries worth building a navy for?
Offshore sectors give you a strong economic reason to operate ships, and sea routes (like the sand delivery in the brewery chain demo) integrate directly into land-based production. Plus, per the developers' own joke, you could always try cargo helicopters — stylish, if not exactly efficient.
For the full official feature list, check out the Transport Fever 3 Steam page.
Related Guides
Transport Fever 3 Beginner Guide: Tips for New Players
Our Transport Fever 3 beginner guide covers routes, depots, demand-driven cargo, and money tips so your first transport empire actually turns a profit.
Transport Fever 3 Bus Lines: The Complete Setup Guide
Learn how to design profitable Transport Fever 3 bus lines with smart stop placement, line routing, and fleet sizing tips for growing cities.
Transport Fever 3 Campaign Guide: Saving Mardi Gras
A full walkthrough of the first Transport Fever 3 campaign mission, Saving Mardi Gras, covering objectives, tips, and how to earn all three stars.
Transport Fever 3 Curved Stations: Full Guide
Everything we know about curved stations in Transport Fever 3, the history of the beloved TF1 mod, and how to get curved track layouts working today.