Transport Fever 3 Map Size Guide: Unlock Huge Maps
Learn every Transport Fever 3 map size, why bigger maps matter for high-speed trains, and how to unlock the experimental Megalomaniac setting step by step.
Why Transport Fever 3 Map Size Can Make or Break Your Save
Choosing the right Transport Fever 3 map size is the single most important decision you'll make before starting a new game — and it's one that nearly every player gets wrong. The default map is only 11 km across, which feels roomy when you're chugging along in steam engines. It becomes a serious problem decades later, when late-game high-speed trains need roughly 20 km of track just to reach their full top speed.
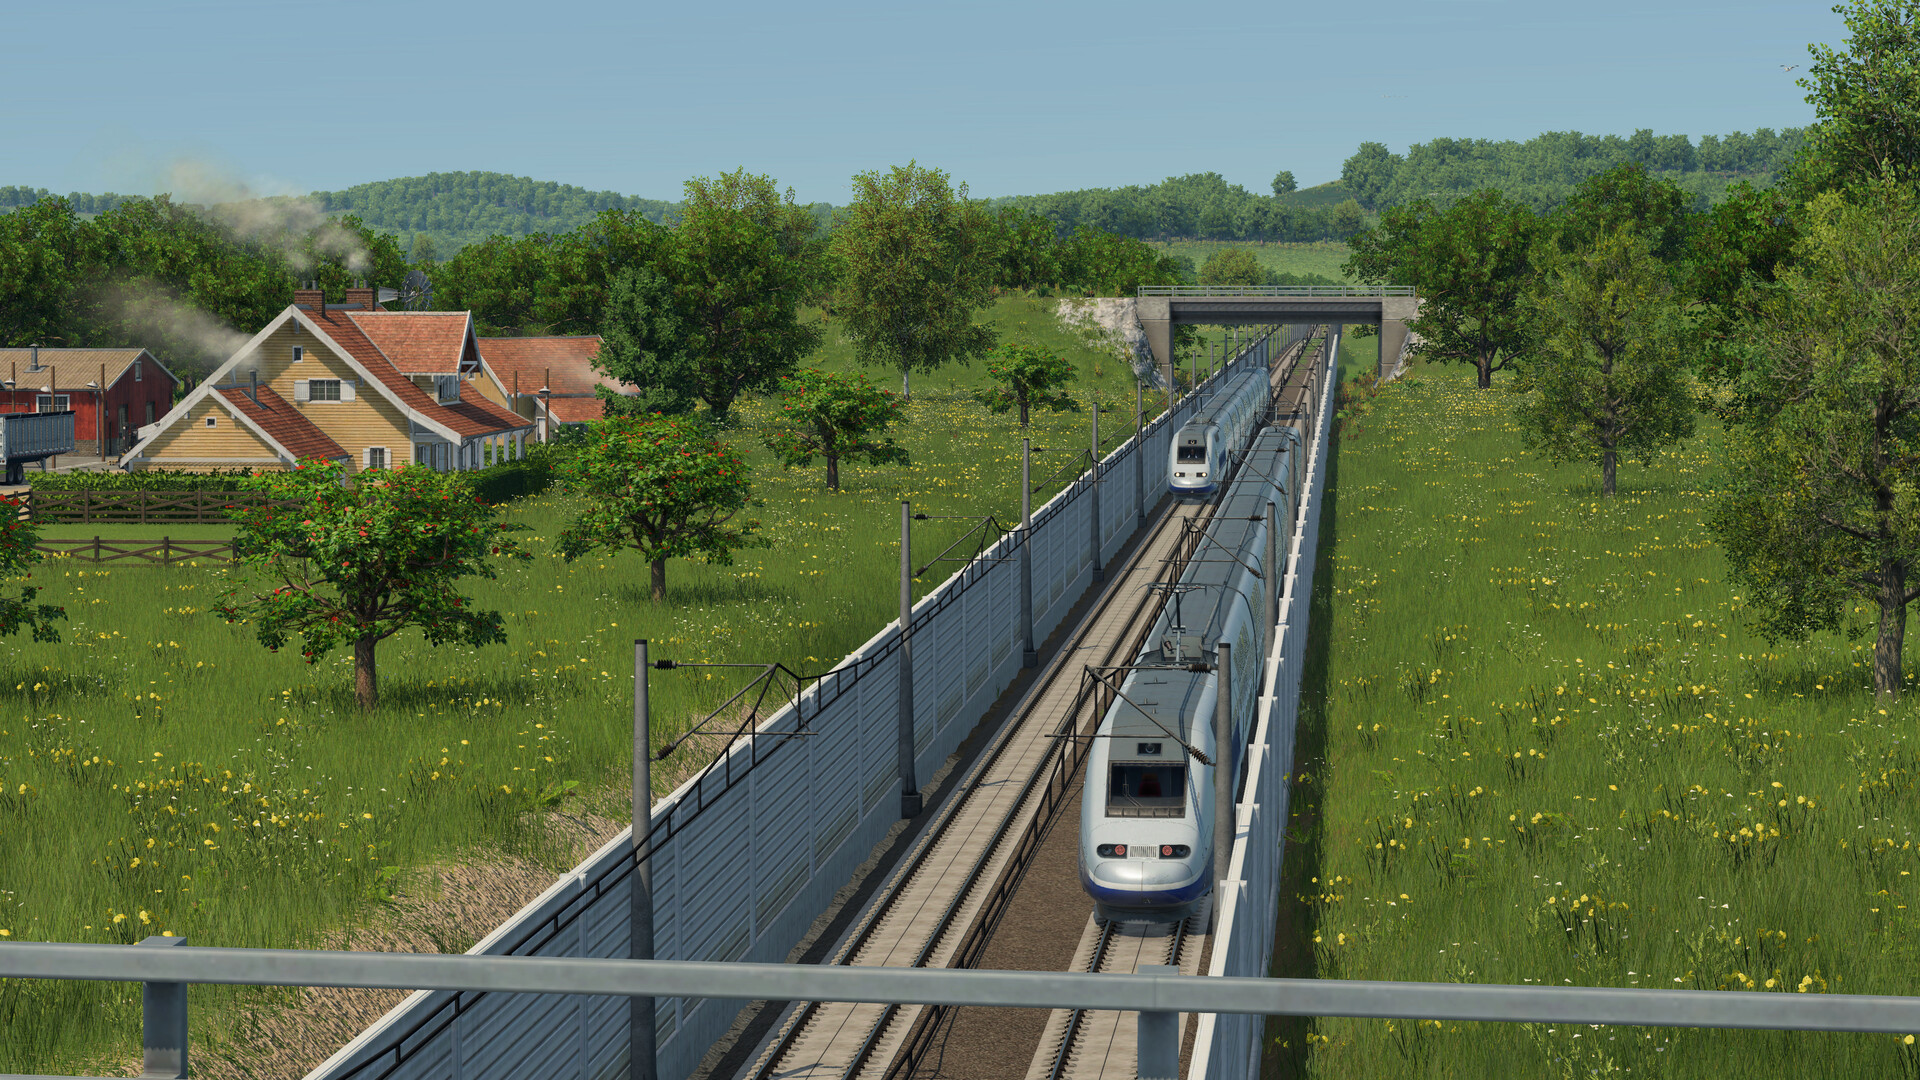
Official screenshot · Source: Steam store
That mismatch means the trains you worked a century to unlock can only cruise at about half of what they're capable of. Your network starts to feel cramped, your flagship services underperform, and many players report their saves losing momentum around the 1970s. The fix? Unlock the hidden, experimental map sizes and build your empire on a map big enough to last the whole timeline.
This guide covers every available map size, explains the performance trade-offs, and walks you through enabling the massive Megalomaniac option step by step.
All Transport Fever 3 Map Sizes at a Glance
Out of the box, the game offers four map sizes. Additional experimental sizes — Tiny, Huge, and Megalomaniac — are hidden behind a settings file edit we'll cover below. Based on the series' established sizing (as documented on the community Transport Fever 2 wiki), here's what the full lineup looks like:
| Map Size | 1:1 Ratio | 1:2 Ratio | 1:5 Ratio | Availability |
|---|---|---|---|---|
| Tiny | 4 × 4 km | 2.5 × 5 km | 1.5 × 7.5 km | Experimental |
| Small | 8 × 8 km | 5.5 × 11 km | 3.5 × 17.5 km | Default |
| Medium | 11 × 11 km | 8 × 16 km | 5 × 25 km | Default |
| Large | 14 × 14 km | 10 × 20 km | 6 × 31.5 km | Default |
| Very Large | 16 × 16 km | 11 × 22 km | 7 × 35 km | Default |
| Huge | 20 × 20 km | 14 × 28 km | 8.5 × 42.5 km | Experimental |
| Megalomaniac | 24 × 24 km | 16.5 × 33 km | 10.5 × 52.5 km | Experimental |
A few practical notes:
- Aspect ratios range from 1:1 to 1:5. A 1:5 Megalomaniac map stretches 52.5 km in one direction — perfect for a proper trunk line.
- Exact dimensions can vary by up to 250 meters depending on the generated terrain.
- Console players are limited. Due to memory constraints, console editions typically cap out at Medium, with current-gen hardware (PS5, Xbox Series) supporting Large.
Community discussions on Transport Fever 3's official Steam page show that map scale remains one of the most debated topics among players, with many hoping future updates push boundaries even further.
Why the Default Map Is Too Small for Late-Game Trains
Here's the math that breaks most saves:
| Train Era | Approx. Speed Needed | Distance to Reach Top Speed | Fits on a Standard 11 km Map? |
|---|---|---|---|
| Early steam | 40–80 km/h | 1–2 km | Easily |
| Mid-century diesel | 100–140 km/h | 5–8 km | Mostly |
| Late-game high-speed | 250+ km/h | ~20 km | No |
On an 11 km map, your flagship high-speed express starts braking before it ever hits its potential. That's frustrating not just for speed's sake — slower cruising means longer travel times, lower line ratings, and reduced revenue per vehicle.
Community reports echo this. Players point out that even the largest maps with the lowest town density produce journeys lasting only a couple of minutes between stops — essentially commuter rail, even when running engines designed for long-distance mainline service. One frequently cited example is the Pioneer Zephyr, a real-life record breaker that ran over a thousand miles nonstop, yet feels underwhelming in-game because it barely has room to accelerate.
Airplanes have it even worse. On any current map size, aircraft barely leave the runway before it's time to land, which is why so many players skip air travel entirely or clamor for larger worlds.
How to Unlock the Megalomaniac Map Size
The biggest Transport Fever 3 map size is locked behind an experimental setting in the game's configuration file. It takes about two minutes to enable. Follow these steps:
| Step | Action | Key Detail |
|---|---|---|
| 1 | Back out to the main menu | Don't do this mid-game |
| 2 | Open Settings → Advanced → "Open User Data Folder" | This opens the folder on your desktop |
| 3 | Exit the game completely | Editing while running risks your changes being overwritten |
| 4 | Open the settings file in Notepad | Right-click → Open With → Notepad if needed |
| 5 | Press Ctrl+F and search for "false" | Cycles through every toggleable setting |
| 6 | Find "experimental map features" and change false to true | Keep one space after the equals sign and a comma after true |
| 7 | Save the file and relaunch the game | The new sizes appear in the new game menu |
A word of caution: the settings file is code. A missing comma or space after true can break the file and cause loading problems. Make the edit exactly as shown, save, and double-check before launching.
While you're in there, many players also recommend enabling the experimental tunnel and bridge minimum height option — it gives you finer control over clearances when building grade-separated infrastructure.
Tip: Back up your settings file before editing. If anything goes wrong, you can restore the original in seconds.
Best Settings for a Huge Map
Unlocking the Megalomaniac size is only half the battle. To get the most out of it, you need to adjust density settings when generating the new world.
| Setting | Recommended Value | Why |
|---|---|---|
| Map size | Megalomaniac | Maximum room for high-speed lines |
| Aspect ratio | 1:2 or 1:5 | Elongated maps suit long trunk routes |
| Town density | Sparse | More open space between stops |
| Industry density | Sparse | Fewer clusters, longer hauls |
The counterintuitive part: even on "Sparse," a Megalomaniac map generates roughly double the towns and industries of a default map — around 24 towns and 42 industries by player accounts. There's simply no reason to raise density further. Standard density on a huge map creates so many stops that trains never get up to speed, defeating the entire purpose.
Sparse density keeps a healthy number of destinations while opening up long, uninterrupted stretches of track where your best locomotives can actually stretch their legs.
Performance: Can Your PC Handle It?
Bigger maps demand more from your hardware. The community wiki's guidance for the series' experimental sizes applies here: you'll want at least 16 GB of RAM, and map size directly correlates with both memory usage and CPU load. More towns, industries, and vehicles simulated simultaneously means more work for your processor every tick.
| Hardware Level | Recommended Max Map Size |
|---|---|
| 8 GB RAM / older CPU | Medium to Large |
| 16 GB RAM / modern mid-range | Very Large to Huge |
| 32 GB RAM / strong CPU | Megalomaniac |
If you notice stuttering as your network grows, it's usually the simulation load rather than raw terrain size. Keeping town density low helps enormously — fewer active entities means smoother performance even on the biggest worlds.
Should You Always Play on the Biggest Map?
Not necessarily. Map size should match how you want to play:
- Casual or time-limited sessions: Medium or Large keeps goals achievable and performance light.
- Transport tycoons chasing the full timeline: Megalomaniac with sparse density is the clear winner.
- Line-building enthusiasts: A 1:5 ratio map mimics a real regional corridor and makes intercity services feel authentic.
- Console players: Stick with Large and embrace tighter, denser networks.
Remember, you can't change a map's size after starting. This is a one-time decision, so make it deliberately — starting a 100-year save on an 11 km map only to discover your flagship trains can't reach top speed is a mistake you only want to make once.
FAQ
What is the largest Transport Fever 3 map size? The largest is the experimental Megalomaniac map, roughly 24 × 24 km at a 1:1 ratio, or up to 52.5 km long at a 1:5 ratio. It must be unlocked by editing the game's settings file.
Does map size affect performance? Yes. Larger maps require more RAM and CPU power. Community guidance suggests at least 16 GB of RAM for experimental map sizes, and lower town/industry density helps significantly on big worlds.
Can I change the map size of an existing save? No. Map size is locked in when you generate a new game, which is why it's crucial to choose correctly before starting.
Why do my high-speed trains never reach top speed? Late-game trains need around 20 km of continuous track to hit maximum speed — nearly double the length of the default 11 km map. Playing on a Megalomaniac map with sparse town density gives them the room they need.
Related Guides
Transport Fever 3 Beginner Guide: Tips for New Players
Our Transport Fever 3 beginner guide covers routes, depots, demand-driven cargo, and money tips so your first transport empire actually turns a profit.
Transport Fever 3 Bus Lines: The Complete Setup Guide
Learn how to design profitable Transport Fever 3 bus lines with smart stop placement, line routing, and fleet sizing tips for growing cities.
Transport Fever 3 Campaign Guide: Saving Mardi Gras
A full walkthrough of the first Transport Fever 3 campaign mission, Saving Mardi Gras, covering objectives, tips, and how to earn all three stars.
Transport Fever 3 Curved Stations: Full Guide
Everything we know about curved stations in Transport Fever 3, the history of the beloved TF1 mod, and how to get curved track layouts working today.