Transport Fever 3 Map Types: Sizes, Biomes & Editor Guide
A complete breakdown of Transport Fever 3 map types, from random biomes to custom maps, plus map sizes, performance tips, and editor basics.
Choosing between Transport Fever 3 map types is one of the most consequential decisions you'll make before laying a single track. The map you pick shapes everything: how viable airports are, whether high-speed rail earns its keep, and how hard your CPU has to work once your network sprawls across the countryside. Since the game launched on September 29, 2026 from Urban Games and Paradox Interactive, players have been debating map sizes, climate zones, and what the built-in map editor can really do. This guide walks you through every Transport Fever 3 map type, how each affects gameplay, and which one fits your playstyle best.
The Main Transport Fever 3 Map Types at a Glance
Transport Fever 3 offers three broad ways to get a world: randomly generated maps, campaign scenario maps, and custom maps built in the in-game editor. Here's how they compare:
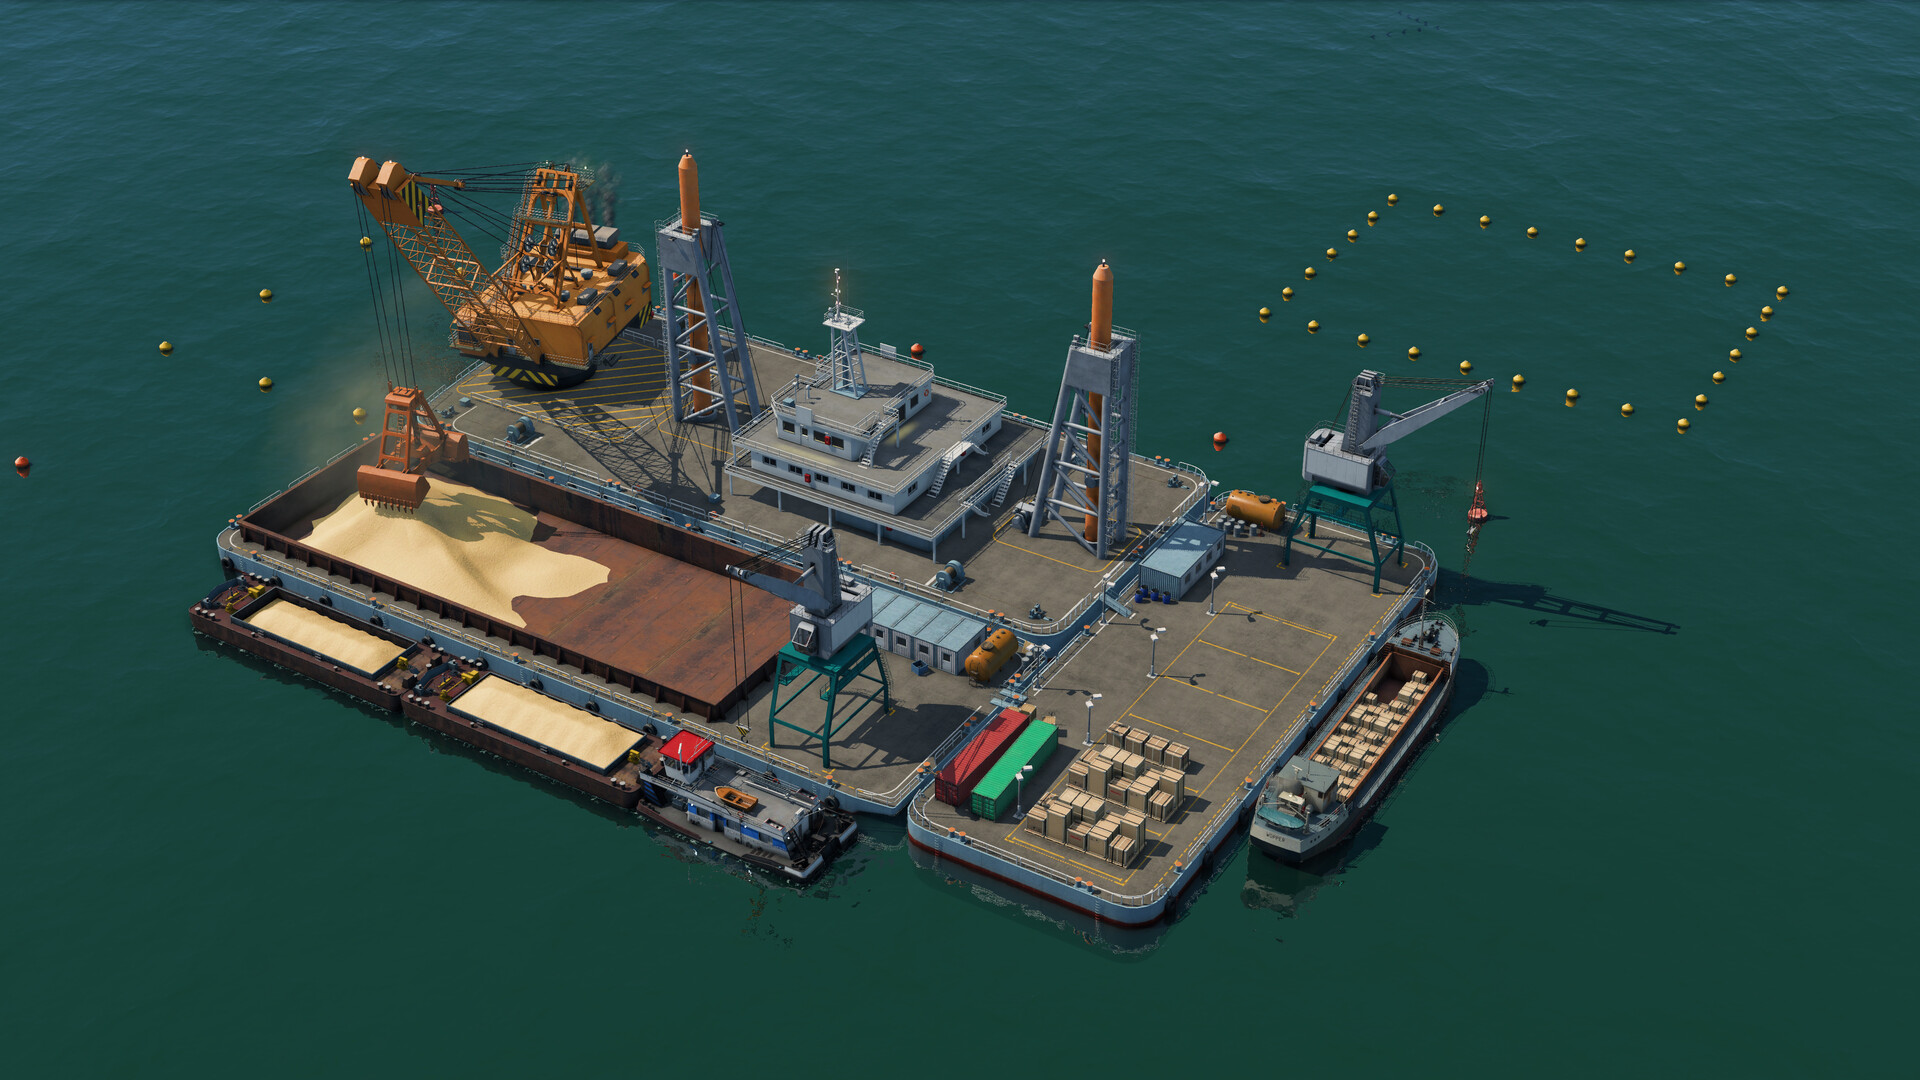
Official screenshot · Source: Steam store
| Map Type | How You Get It | Best For | Difficulty Curve |
|---|---|---|---|
| Randomly generated | Selected at new game setup | Replayable tycoon campaigns | Scales with your settings |
| Campaign maps | Story missions | Learning mechanics, scripted challenges | Fixed per mission |
| Custom maps | In-game map editor or mod browser | Real-world recreations, dioramas, creative builds | Entirely up to you |
Each type draws from the same underlying simulation — every citizen has a home, a job, and somewhere to be — so the choice is less about mechanics and more about scope, challenge, and creativity.
Randomly Generated Maps and Their Biomes
The backbone of the game is its randomly generated maps with distinct biomes. Transport Fever 3 ships with multiple climate zones, including a brand-new subarctic region alongside temperate, desert, and tropical environments. Each biome demands a different transportation strategy.
| Climate Zone | Terrain Character | Planning Challenge |
|---|---|---|
| Temperate | Rolling valleys, rivers | Balanced; good for beginners |
| Subarctic (new) | Swamps and harsh ground | Costly infrastructure, tricky routing |
| Desert | Wide open plains | Long distances, few natural barriers |
| Tropical | Islands and coastline | Heavy reliance on ships and bridges |
A few practical tips for random maps:
- Scout before committing. Use the terrain view to identify natural corridors between towns before placing your first station.
- Match vehicles to geography. Tropical island maps reward shipping early; desert plains make long, fast rail lines profitable sooner.
- Adjust generation settings. Like the rest of the game, map generation is highly customizable, so you can tune town density and industry spread to your liking.
How Big Are the Maps? The Size Debate
Map size has been the single hottest topic in the community since launch. Based on pre-release interviews and community discussion, map sizes appear consistent with the previous entry, with the largest option tied to the "Megalomaniac" setting. Some players hoped the experimental larger sizes from the prior game would carry over out of the box, and there's speculation that mods will unlock ultra-large maps — one modder in the Steam discussion thread claims the same method used for Transport Fever 2 will work here.
The trade-off, according to player experience, is performance. Because the game simulates every individual citizen and vehicle, bigger maps with more towns mean more objects to calculate, and frame rates eventually suffer no matter how powerful your rig is.
| Map Size Setting | Pros | Cons | Recommended For |
|---|---|---|---|
| Small | Best performance, dense gameplay | Limits planes and high-speed rail | City builders, diorama makers |
| Medium | Good balance of space and speed | Still crowded in late game | Most tycoon players |
| Large / Megalomaniac | Room for airports, HSR, huge cities | Performance degrades as you build | High-end rigs, patience required |
One counterpoint worth noting from community reports: bigger maps don't have to mean more entities. Greater distance between cities can make aircraft viable and give train top speeds real meaning, rather than multiplying the simulation load.
Campaign Maps: Scripted History Lessons
If you'd rather not wrestle with open-ended generation, the campaign offers missions inspired by real historic transport events. These maps are hand-crafted, with defined objectives that test your planning and efficiency. They're the best place to learn the game's systems — cargo handling, contracts, and traffic management — before committing to a long random save. Since the whole world evolves through more than 125 years of transport history, campaign maps also showcase era-appropriate buildings, vehicles, and trends.
Custom Maps: The In-Game Editor
Transport Fever 3's fully featured map editor lets you sculpt terrain, paint ground textures, and place vegetation to build anything from a faithful real-world region to a fantasy diorama. Improved modding tools and an in-game mod browser (rather than a Steam Workshop page) make sharing and downloading creations straightforward — and, notably, the in-game system also opens modding up to console players.
| Editor Feature | What It Does |
|---|---|
| Terrain sculpting | Raise mountains, carve valleys, shape coastlines |
| Ground painting | Set surface textures for realism or style |
| Vegetation placement | Populate forests, fields, and details |
| Sharing via mod browser | Publish maps directly from inside the game |
If economy micromanagement isn't your thing, remember you can disable it entirely and use custom maps purely as a creative sandbox — a popular approach for model-railway-style builders.
Performance Tips for Any Map Type
Whichever of the Transport Fever 3 map types you choose, late-game performance comes down to entity count. Community consensus offers a few reliable strategies:
- Build big cities on smaller maps — the total object count stays lower even as towns grow.
- Prefer elongated medium-to-large maps if you want a sense of distance without ballooning the simulation.
- Expect smooth, stable frame rates (even 40–50 FPS) rather than high peaks; consistent frametime matters more than raw FPS for a building-focused game.
- Avoid flooding short routes with huge vehicle fleets; right-size your fleet to actual demand.
Which Map Type Should You Choose?
| Your Playstyle | Recommended Map Type |
|---|---|
| First-time player | Campaign, then temperate random map |
| Long-haul tycoon | Large or Megalomaniac random map |
| Creative builder | Custom map with economy disabled |
| Performance-limited PC | Small or medium random map |
FAQ
What map types are in Transport Fever 3? There are three main Transport Fever 3 map types: randomly generated maps with distinct biomes, hand-crafted campaign maps based on historic events, and custom maps made with the built-in editor or downloaded via the in-game mod browser.
Are the maps bigger than Transport Fever 2? Community reports and pre-release interviews suggest map sizes are similar, with the largest sizes tied to the Megalomaniac setting. Mods may expand this further, as they did for the previous game.
Which biome is best for beginners? The temperate zone's valleys and rivers offer the most forgiving terrain. The new subarctic region, with its swamps, is better saved for a second or third campaign.
Can console players use custom maps? Yes. Because mods are distributed through the in-game mod browser rather than Steam Workshop, console players can access community maps and other mods as well.
For full details, check the official Transport Fever 3 page on Steam.
Related Guides
Transport Fever 3 Beginner Guide: Tips for New Players
Our Transport Fever 3 beginner guide covers routes, depots, demand-driven cargo, and money tips so your first transport empire actually turns a profit.
Transport Fever 3 Bus Lines: The Complete Setup Guide
Learn how to design profitable Transport Fever 3 bus lines with smart stop placement, line routing, and fleet sizing tips for growing cities.
Transport Fever 3 Campaign Guide: Saving Mardi Gras
A full walkthrough of the first Transport Fever 3 campaign mission, Saving Mardi Gras, covering objectives, tips, and how to earn all three stars.
Transport Fever 3 Curved Stations: Full Guide
Everything we know about curved stations in Transport Fever 3, the history of the beloved TF1 mod, and how to get curved track layouts working today.