Transport Fever 3 signals: Fix Deadlocks and No Path
Learn how Transport Fever 3 path signals reserve routes, plus one-way settings, passing loops, junction spacing, and No Path fixes.
A red light on an empty railway is usually a reservation problem, not a broken train. Transport Fever 3 signals turn green only when a service can claim the exact path it intends to use, up to the next signal or a reversal stop. That is why Transport Fever 3 signals can halt two trains that never share the same stretch of rail, and why adding lights at random often makes the jam worse.
How Path Reservations Replace Block Sections
Vanilla Transport Fever 3 signals are a single tool: the path signal. Open the rail tools, select the wrench, and place a path signal beside the track. There is no separate block signal in the base game. A placed signal stays red until an approaching train is close enough to request the route ahead. If that route is free, the aspect clears briefly, the train passes, and the signal returns to red as soon as the reserved path is occupied.
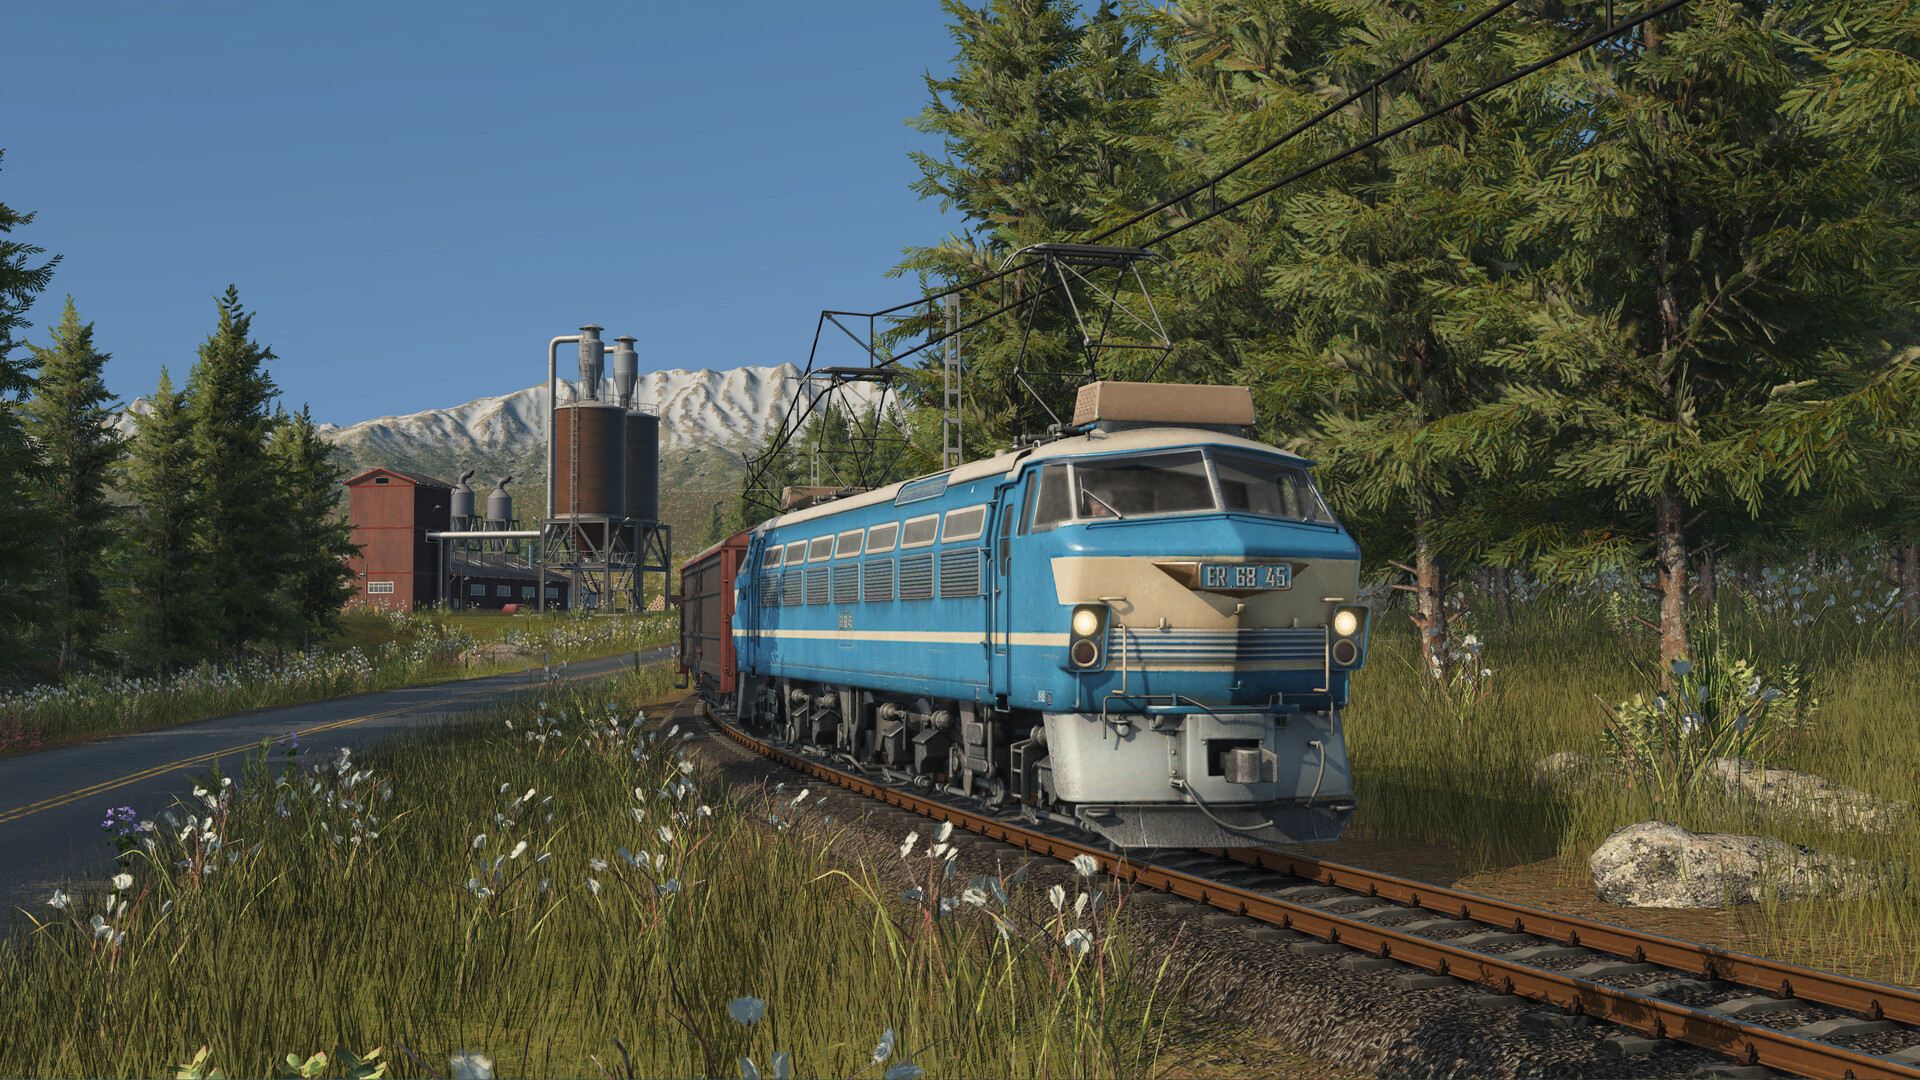
Official screenshot · Source: Steam store
The reservation follows the train’s actual route, not every rail inside a wide area. Two services can occupy the same complicated junction at once when their switches and crossings do not overlap. If they both need the same diamond or the same point, the second train waits even though most of the junction looks empty. Watch the movement you assigned, not the whole tangle of track.
Transport Fever 3 also changed how far a reservation can reach compared with Transport Fever 2. An ordinary intermediate stop does not cut the path. A train may reserve straight through a station where it only pauses, and it keeps that claim until the next signal or until a stop where it reverses. A terminal, where the train changes direction, does act as a segmentation point. That difference decides whether a second train can even leave the depot.
Through stations are not hidden signals. On a closed loop with no signals at all, one train is fine because nothing else needs the circle. Add a second train and it often refuses to leave the depot: the first service is holding the entire loop as one path. On an end-to-end line, the second train can usually exit, because each reversing terminal already splits the reservable route. The two trains then deadlock in the middle, each asking for track the other already holds.
| Signal state | What it controls | Typical use | Main risk |
|---|---|---|---|
| Reversible path signal (three dots) | Trains approaching in the signaled direction; opposite running is still allowed behind it | Single track, passing loops, reversible throats | A train can run the “wrong” way and steal a path |
| One-way path signal (one dot) | Movement in the chosen direction only | Double-track mains and their entries | A backward one-way creates No Path on connected rail |
| No signal on the section | One reservation until the next signal or a reversal | A line that truly has one train | A second train may never get a free path |
One-way is a setting on that same path signal, not a second signal type. You can enable it in the placement tool or by selecting a signal already on the map. From a distance, one dot means one-way and three dots means trains may pass in both directions. Use that glance check before you rebuild track that was working yesterday.
For the broader series and official game information, Urban Games publishes updates on the official Transport Fever website.
Loops, Terminals, and Passing Loops
Start with the physical route, then add lights. A useful build order is: connect the stations, add only the crossovers trains actually need, confirm each service can reach its platform, connect the depot in the correct running direction, and place signals last. Signals cannot invent a missing switch.
| Layout | What already splits the path | Practical signal plan | Failure you will see |
|---|---|---|---|
| Single train, any simple line | Nothing required yet | Leave it unsignaled | Trouble starts the moment you add train two |
| Closed loop, two or more trains | Signals only | More waiting sections than trains that must pass | Two signals and a face-to-face deadlock |
| End-to-end single track | Reversing terminals | A passing loop at least one train long, signaled at both ends | Both lines still choose the original track |
| Consistent double track | One-way signals | One direction per road, crossovers only at station approaches | Wrong-facing one-way on the return trip |
| Shared junction | Entrance signals | One signal on every track that enters the switches | An exit signal closer than the longest train |
On a loop, two signals are often enough to release the second train from the depot and not enough to keep both moving. Each train then sits in the only section the other needs. Add signals so a waiting train occupies a slice that is not the other train’s sole way forward. There is no universal spacing number. If trains still trade red aspects forever, you do not have a spare section.
Most real lines are end to end, not circles. Opposing trains on one track need a passing loop: a stretch that splits into two parallel roads and joins again, long enough that a waiting train sits fully between the switches. Build the loop first. Trains may still ignore it, because a junction alone does not create a separate reservable target. In the line editor, hold Shift and click the parallel track to drop a waypoint so the second service is told to use that road. Then place path signals at both ends of the loop.
Once those signals exist, each train can reserve up to the signal that protects the loop, wait if the far path is taken, and go when it clears. You do not have to wait until the other train reaches a distant signal. As soon as its tail is beyond the crossing, the conflicting reservation drops and the waiting signal can clear. That is the practical difference from old block-section habits, where a signal jammed against the junction was how you “released” the block.
Do not sprinkle extra signals along the single-track stem just to shorten the gap. A light with no second track beside it lets trains approach each other and then gives neither one a place to pass. If both stop before the loop, check the reservations and the signals at the loop ends. If they reach the loop and still cannot pass, check the points, the waypoint, and whether one-way settings have banned one of the two roads.
Extra loops help a busy single-track corridor. When trains spend most of their time waiting between those loops, doubling the busiest stretch usually buys more capacity than another signal.
One-Way Settings and Junction Spacing
Pick left-hand or right-hand running and keep it for the whole corridor. One-way signals at the entrances and exits of double track stop a train from wandering onto the opposing road. A normal path signal does not do that by itself. Placing it only governs trains coming toward it.
The simplest junction rule is to protect entries, not exits. On a triangular meeting of three routes, put a signal on each track that feeds the shared switches—three per corner is enough in a basic layout—and do the same at the other corners. You usually do not need a signal on the way out. The train releases the junction as soon as it has cleared the conflicting track, so the next service can cross without waiting for a far signal.
Exit signals become a problem when they are too close. A train can pass the points, stop at the next red, and leave its wagons across the switch. Every other movement that needs that switch is stuck, even though the locomotive is already “through.” Move that signal out until the longest train you run can stand at it with the tail clear of every conflicting point. Player experience on growing networks is blunt about this: spacing that worked for trains about 160 meters long failed after consists stretched to about 320 meters. Measure the wagons, not the engine.
| Junction check | Pass | Fail |
|---|---|---|
| Approach | The train can wait before it occupies any shared switch | It stops on the points and blocks the crossing |
| Exit | The full consist clears every conflicting switch before the next possible stop | The rear still fouls the junction at a red |
| Parallel routes | Nonconflicting paths run at the same time | You treated the whole junction as one occupied block |
| After longer trains | You rechecked clearance with the new consist | Old signal posts were left where the short trains used to fit |
| One-way direction | Dots match the running direction you intended | A single reversed one-way makes the Line Manager say No Path |
At a terminus you often do not need a full junction plant, but one or two signals before the entrance crossover give arrivals a safe place to wait for a free platform. Keep those holding signals on the approach side. If you also signal beyond the crossover, use the same full-train clearance rule or the station throat becomes the blockage.
Station design matters before any of this. Leave room past the platforms so you can add crossovers later. A cramped throat cannot be fixed by another signal. If two services need different platforms, each platform needs a real route in. A nearby switch that only serves the opposite direction does not count.
No Path, Depots, and Platform Access
A railway can look complete and still show No Path. That message is a connectivity and direction problem. A red signal on a line that otherwise runs is a reservation problem. Treat them separately or you will rip up track that was never the fault.
Trace the train from its current rail in the direction it must travel. At every point, confirm the branch actually connects to the next piece of the line. Then inspect signals, especially any set to one-way. If a one-way faces against the required move, reverse it or turn the restriction off where two-way running is intentional. Follow the path all the way onto the assigned platform. The main line can be fine while the last approach is not. Also check the trip back out: many “one-way” failures are on the far side of the terminal.
Change one suspect signal or link at a time and let the service run. A throat that works for a single departure can still deadlock when trains arrive from both directions together.
Depots fail the same way. The spur has to join the track and the direction the new train must use. On double track, a spur into the wrong road, or into the correct road against a one-way, leaves the train boxed in beside a perfectly good station. Add a crossover or move the connection before you demolish the depot. A spur that is geometrically correct can still die at the next one-way if that signal blocks the first scheduled stop.
Empty platforms are not proof that you need more of them. The arrival may have no crossover onto the assigned track, or a departure may already be holding the only path in. Transport Fever 3 can use an alternate terminal when the preferred one cannot be reserved. Set the allowed platforms for that stop in the Line Manager, and give each option a real connection from the approach. An alternate that the train cannot reach does nothing. If the crossover itself is the bottleneck, trains will queue even with a spare platform sitting empty.
Add platforms when every reachable platform is regularly full and trains wait outside. Skip the purchase when platforms stay empty. Also look at departing length: a train waiting at a close signal with its tail across the throat can hide platforms that are otherwise free.
Electrification is a cousin of No Path, not a signal bug. An electric locomotive needs compatible overhead or third rail on the whole move, including crossovers, depot spurs, and alternate-platform links. One missed segment blocks the replacement even when the rest of the corridor is already wired.
| What you see | More likely cause | First change to try |
|---|---|---|
| Second train never leaves a loop depot | The loop is one reservation | Split it with path signals |
| Trains face each other forever | Each holds the other’s next path | A passing loop, or an extra waiting section |
| No Path on track that looks joined | One-way against the route, or a switch that does not connect | Trace one direction; fix that one restriction |
| Red on apparently empty rail | A conflicting switch or platform approach is reserved | Follow that path, not the whole junction |
| Junction blocked after the engine passes | Wagons still occupy the points | Shift the next signal out by at least one train length |
| Spare platform unused | No route onto it, or the throat is already reserved | Fix crossovers and alternates before adding platforms |
| Line worked until you signaled it | New one-way settings | Inspect those signals before moving rail |
Pause, select one stuck service, and find the first point where it cannot continue. If goods are the real issue—the train moves but hauls nothing—that is coverage, cargo filters, or industry supply, not the signal plan.
Line Priority and When Signals Are Not the Fix
Services start at equal priority. Open the line and raise the badge to high or very high when an express should beat local or freight trains at shared conflicts. A higher setting makes that train look farther ahead and reserve earlier, so lower-priority trains are the ones that wait. It also cuts some needless braking on a busy line. Use it for passengers on a clock, or for freight that loses money when it sits.
The cost is frequency on everything you did not promote. If you mark several competing lines very high, none of them gets a meaningful edge. Priority will not build a missing connection, open an unreachable platform, or let two trains share a conflicting path. When the corridor itself is full, you still need another loop, a second track, or a throat that separates arrivals from departures.
Faster locomotives show the same limit. A new engine often catches the slower train ahead long before it can hold its own top speed, and wagon limits can cap the consist anyway. If the queue is at the station, give the services different platforms that do not share one tight crossover. If the fast train catches the slow one on open track, add passing room or separate roads. If the delay is one junction, try priority first and watch the whole corridor, not only the train you favored.
Cosmetic signal mods exist alongside the base path signal—community catalogs on mod.io list dozens of signal-tagged items, many of them national styles or decorative lights. They do not replace the reservation rules above. Test any modded look on a quiet branch before you drop it across a main line.
Before you buy another vehicle, run the junction with the trains that will actually use it: the longest consist, and services from opposite directions. A working Transport Fever 3 signal plan is one you can repeat as traffic grows, not one that survives a single lucky departure.
FAQ
Do Transport Fever 3 signals make a track one-way by default?
No. A standard path signal controls trains approaching it and still allows opposite running behind it. You have to set One-Way yourself. One dot above the signal means that restriction is on; three dots means both directions remain possible.
Why does a train wait at red when the track ahead looks empty?
The signal is refusing one specific path, not announcing that every rail beyond it is occupied. Another train may be holding a single switch, crossing, or platform approach on the route this service needs. Nonconflicting moves through the same junction can still run.
How long should a passing loop and the next signal be?
The loop must hold a full train between the switches at both ends. Any signal beyond a junction should sit at least that same train length past the last conflicting point, or a stop will leave wagons blocking the throat. Recheck after you lengthen consists.
Can line priority clear a No Path error?
No. Higher priority only changes who reserves a valid conflict first, and how early that reservation starts. No Path means the route or the one-way settings do not allow the trip. Fix the connection, the depot spur, or the signal direction, then consider priority.
Related Guides
Transport Fever 3 Austria: Huge Alpine Map Guide
Explore the giant Transport Fever 3 Austria alpine map: towns, rail corridors, sparse industries, setup steps, and performance tips.
Transport Fever 3 Beginner Guide: Tips for New Players
Our Transport Fever 3 beginner guide covers routes, depots, demand-driven cargo, and money tips so your first transport empire actually turns a profit.
Transport Fever 3 Bus Lines: The Complete Setup Guide
Learn how to design profitable Transport Fever 3 bus lines with smart stop placement, line routing, and fleet sizing tips for growing cities.
Transport Fever 3 Campaign Guide: Saving Mardi Gras
A full walkthrough of the first Transport Fever 3 campaign mission, Saving Mardi Gras, covering objectives, tips, and how to earn all three stars.