Transport Fever 3 Trams: Setup and Profit Guide
Learn how Transport Fever 3 trams move cargo, cut station costs, and link cities. Setup tips, capacity notes, and tram-train mods.
A cargo tram that rolls straight into a factory can beat a truck depot sitting one block away. In a growing company, Transport Fever 3 trams keep short freight hops cheap while passenger loops clear crowded platforms. Players who treat Transport Fever 3 trams as more than downtown circulators usually cut transfer-station upkeep and push more goods through the same streets.
That edge is not automatic. Street track, cargo filters, worker buses, and the occasional mod all change what a line can do. The setups below come from community play and one detailed industry save: door-to-door loading, mixed freight, traffic fixes, and tram-trains that leave the street grid.
Where Transport Fever 3 Trams Earn Their Keep
Vanilla Transport Fever 3 trams are at their best on short, frequent trips. A hop across town does not need a heavy locomotive or a staffed freight hall. In player experience from a late industry build, replacing a transfer stop with track that entered the building removed a maintenance bill and let vehicles load on the plant's own pads.
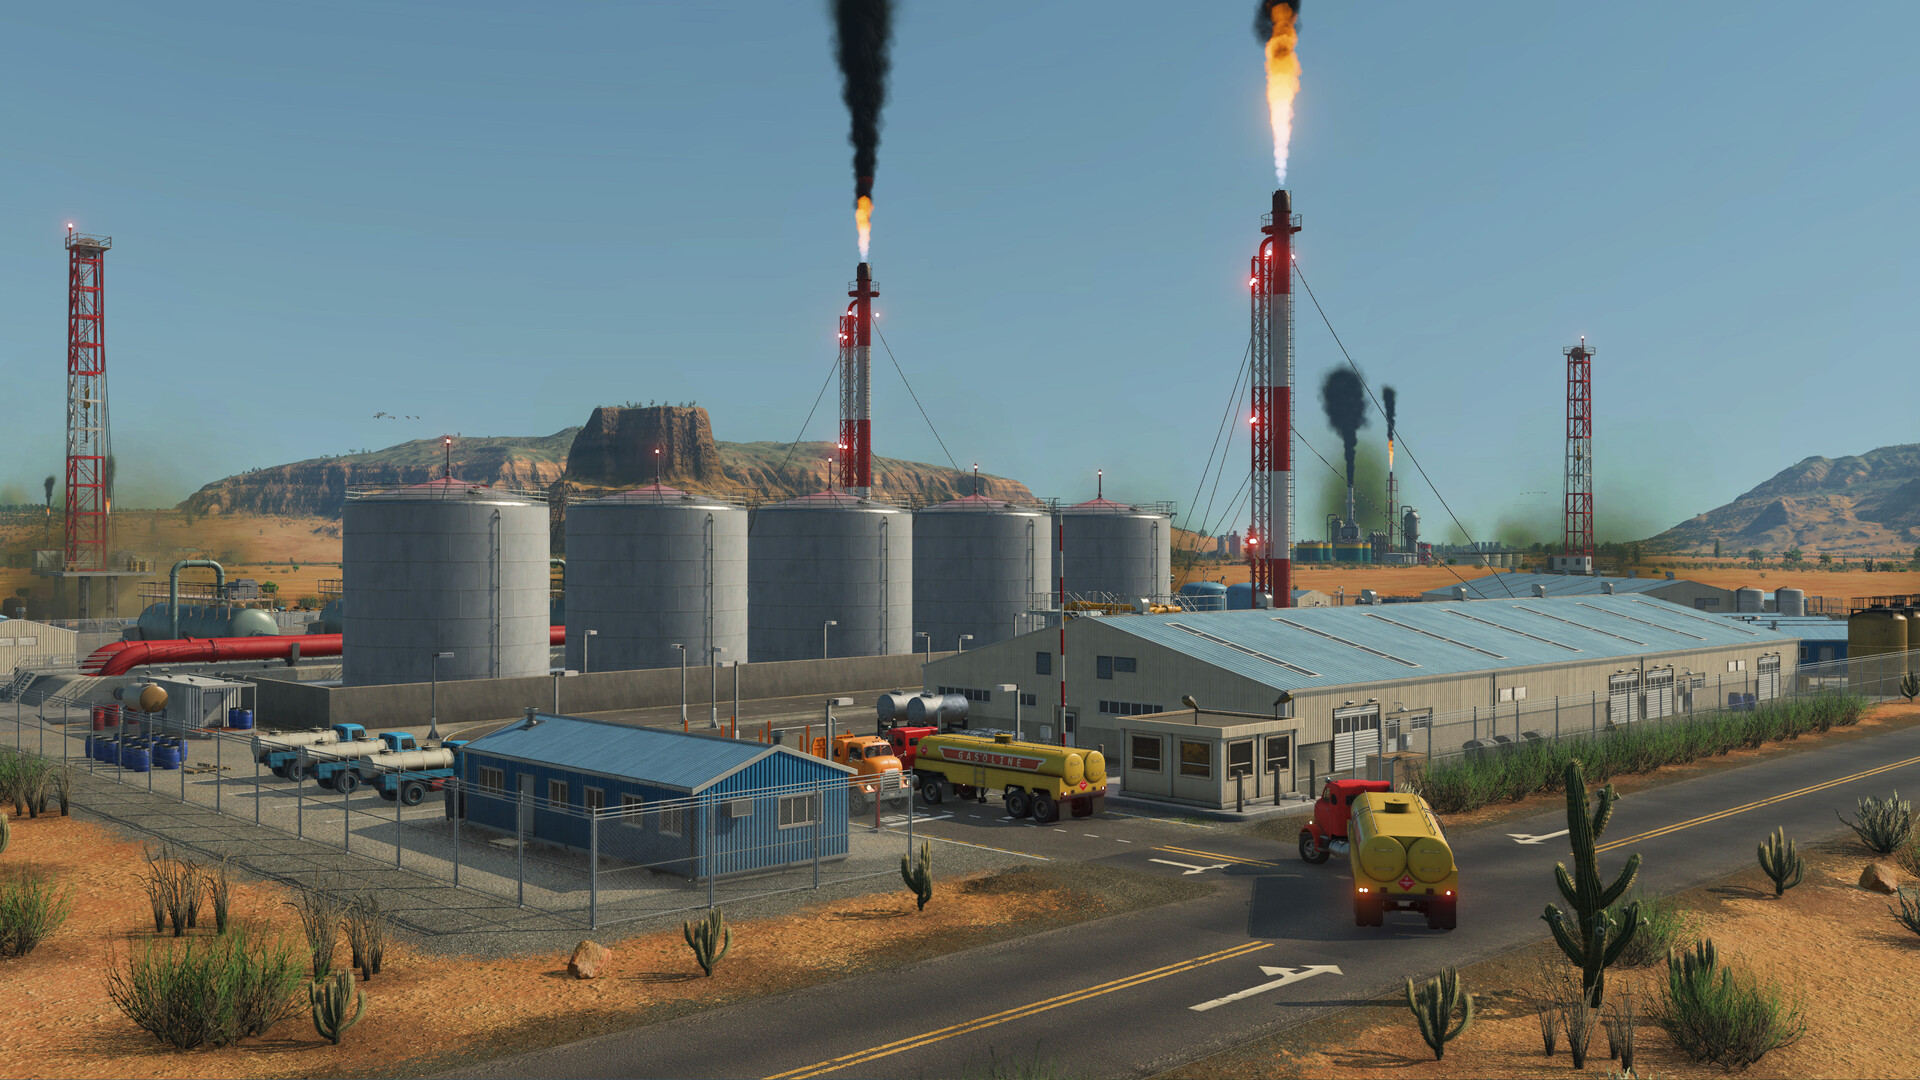
Official screenshot · Source: Steam store
Pick the mode before you pave another depot.
| Job | Strong pick | Why it wins | Watch-out |
|---|---|---|---|
| Passenger loops in one city | Trams or frequent buses | High frequency, small footprint | Jams if every line shares one junction |
| Cargo between nearby plants | Cargo trams with industry track access | Skips an external station | Not every building accepts tram track |
| Long intercity freight | Trains | Capacity and speed | Cost, platforms, and emissions |
| Workers at a road-served plant | Buses | Cheap to retarget | Too few seats when a subsidy hits |
| Offshore or isolated sites | Boats or helicopters | No road required | Helipads are separate; seats fill fast |
Passenger capacity still sets the tone for the wider company, because a clear station feeds every mode. One player swapped an older consist of about 176 seats for an electric locomotive and seven double-deck cars and reached about 245 seats. The cars capped speed at 140 km/h, so a faster locomotive did not pay for itself. That single train drained a platform backlog.
Replacing eight trains across two loop directions was far more expensive in the same session, on the order of tens of millions, so the player bought two and checked the platforms before ordering the rest. Those figures are one depot screen, not official stats. Eras retire locomotives, which makes old comparisons messy. Check live numbers in your vehicle manager and on the Transport Fever 3 on Steam page before you lock a budget.
How to Run Cargo Trams Into Industries
Cargo-focused Transport Fever 3 trams get a real shortcut from an industry tram-access mod. The tool marks a plant so tram track can enter it, often with a loop and more than one loading face. Electric trams may also need the site wired. Treat everything in this section as player experience with a mod, not a base-game promise.
What worked in that save:
- Farms, mines, and similar first-step producers accepted track reliably.
- Coal and ore sites offered two loading sides.
- A chemical plant and a vehicle factory often refused the highlight.
- About two trams could sit inside one building at once.
- If every industry suddenly fails, the tool is often still selected on another building. Click empty ground and try a simple mine again.
| Step | What to do | What you should see |
|---|---|---|
| 1 | Select the plant with the industry tram-access tool | It accepts tram track |
| 2 | Add catenary if the trams are electric | A powered spur |
| 3 | Lay track into each loading face | One or two pads |
| 4 | Keep a road if buses still bring workers | Passenger stops stay valid |
| 5 | Edit the line: drop the old station, add the interior stop | Trams enter the building |
| 6 | Demolish the unused transfer station | Upkeep falls |
| 7 | Name the line by cargo and direction | Later edits stay obvious |
Names pay off once you are running coal, ore, plastic, sheet metal, and a stack of worker buses. A deleted stop is much easier to spot on a labeled line than on "Line 12."
Multi-input plants are clumsier. In that production chain, machines needed plastic and steel, and machines then unlocked vehicle output. The player left tram track off the fussiest processors and built filtered pads instead: goods faces for plastic, flatbeds for steel and outbound machines, and a return trip so the tram earned revenue both ways. Without a preferred platform, vehicles still load, but they pick the slow side and miss their slot.
If a plant is blocked from expansion, bend the approach around the footprint so growth tiles stay open. Towns sprawl into neighboring industry land. One player lost fields to city growth and could not expand the plant. Leave a buffer, or the warning becomes permanent.
| Problem | What players saw | Practical fix |
|---|---|---|
| Tool ignores every plant | Selection stuck on another site | Click empty ground, then retry a mine |
| Trams use the slow pad | No preferred stop or filter | Assign the cargo to the fast face |
| Town blocks the industry | City grew into the lot | Shift the road and leave expansion room |
| Machine line runs empty | Plastic or steel still missing | Wait until both inputs are stored |
| Only two trams fit inside | Building pad limit in that mod | Add a second plant spur or an outside bay |
Capacity, Cargo Mix, and Two-Way Lines
When you resize Transport Fever 3 trams, read the industry window before you buy wagons. A plastic shuttle can look fine and still starve a machine plant that wants nearly twice as much steel as plastic. In that save the player kept a lighter plastic set, because steel was the heavier demand, and only shortened the tram path. The old road stayed in place as a backup.
| Cargo | Wagon style that worked | Line tip |
|---|---|---|
| Plastic | Goods wagons | Raise frequency before you build a huge set |
| Steel and machines | Flatbeds | Drop steel, lift machines on the return |
| Finished vehicles | Vehicle-capable flatbeds | Park overflow in a storage yard |
| Grain and wool | General freight | One line went to about 98 capacity, then gained a third vehicle |
| Mixed steel, machines, and vehicles | Flatbeds near 74 capacity | A second tram covered the backhaul |
Two-way loading is the clean profit pattern: deliver the input, leave with the output. Sheet metal one way and machines the other is the pattern from this cluster. Set stop filters before you buy a third vehicle. Extra trams only hide a consist that keeps docking on the slow face.
Do not open the downstream line until goods exist. Machines showed up in storage only after both plastic and steel were arriving. An early tram just burns wages on empty runs.
On worker feeders, frequency beat size. A simple out-and-back, plus two extra buses, lifted coal output without a new corridor. After every edit, check both the vehicle and the stop. A flatbed still flagged for an old product, such as apparel left over from a test line, will not pick up machines no matter how clean the track looks.
Also match maintenance to the speed cap. If the wagons already limit the set to 140 km/h, paying for a 200 km/h locomotive rarely helps a short industrial hop. Spend that cash on a second vehicle or a shorter alignment instead.
Streets, Workers, and Town Growth
Street-running Transport Fever 3 trams lose their margin in a jam. The first serious queue in that save sat on a town road shared by several lines. An overpass on the main crossing, plus an underpass that peeled traffic onto a bypass, cleared it almost at once. A later queue needed a short bridge so local trips did not lap the whole district. Separate approach roads, each aimed at a different town, kept factory traffic off the through lanes.
Use these street rules before you expand the fleet:
- Grade-separate the junction every line touches before you buy more vehicles.
- Move bus stops before you delete their road. The game will block the demolish if a stop is still attached.
- A one-way stub is enough for workers. Not every commute needs tram track.
- If trucks sit at one bay, add a multi-pad cargo station only after the road itself flows. Sometimes the queue was just the jam.
Worker subsidies are usually worth accepting. A bus hub in the nearest large town, plus short out-and-back lines, raised output on plants that already had raw materials. A workforce bonus does nothing if machines or plastic are still missing. Open the industry panel and fix the missing input first.
Isolated sites may need a helipad rather than the main airport terminal. Helicopters in that session carried roughly 10 and 20 passengers. Basing them at an existing airport let rail passengers transfer, but the rail line needed extra trains or the aircraft waited on empty platforms. Boats remain the better default for water platforms when you only need a few more workers.
A subsidy that wants a transfer-free link will not pay until one service connects the two towns without a forced change of vehicle. If your network only works by transfer, skip the offer or build the direct ride. Renaming lines as you go, including clockwise and counterclockwise passenger loops, makes those gaps obvious.
Tram-Trains and Shared Railway Track
Shared-track Transport Fever 3 trams are a common community request. Players on the Steam discussion want street track and full railway to interconnect, citing Dutch corridors where tram, metro, and train share a stretch, and comparing the idea to an S-Bahn. Those community reports also say urban trams often shrink into forgotten shuttles between a station and a quiet downtown. Street-running on real railway would make city networks worth more of the build time.
The base game already has a limited form of this. According to the Light Rail for All Trams mod, vanilla tram-trains can leave the street network, and the mod extends that behavior to every tram. It detects vehicles by their properties, not a fixed list, so trams from other mods are included. They can call at ordinary railway stations. Electric trams still need catenary on any rail they use.
| Setting | Choices | Practical pick |
|---|---|---|
| Which trams | All, electric only, or non-electric only | Electric only on wired main lines |
| Minimum year | A year gate | Keeps early eras from spawning modern cars |
| Load | Passenger, cargo, or both | Enable cargo only for freight trams |
| Uninstall | Live routes already on railway | Removing the mod can break those lines |
Use the mod when a neighborhood is closer to existing rail than to a new street corridor. A tram can run in the road through town, then join electrified track to the next station, without a second fleet. Do not send unwired trams onto an electric-only filter, and do not remove the mod while those routes are live.
One community comment noted a red multiple-unit that appears on elevated rail in the trailer and looks similar to a tram in store art. Treat that as a hint to check the depot for separate tram and train versions. It is not proof that every multiple-unit is dual-mode.
If you only haul street freight between nearby plants, skip the light-rail mod. Fewer layers means fewer broken lines after an update. Keep cargo trams on tram track, keep long hauls on trains, and let buses handle the worker spokes that do not justify rails.
FAQ
Can Transport Fever 3 trams load cargo inside a factory?
With an industry tram-access mod, player experience says yes on many basic plants. Move the line stop inside and sell the transfer station. If the tool will not highlight the building, keep a roadside cargo stop and do not force the track.
Will every industry accept tram track?
No. Farms and mines were the reliable cases in one save. Some processing plants never lit up, and a stuck selection made the mod look broken until the player clicked empty ground and tried a simpler industry.
Can trams use regular train rails?
Vanilla tram-trains can. Light Rail for All Trams extends that to other trams, including modded ones, and allows stops at railway stations. Electric trams need catenary. Removing the mod from a running save can break routes that already sit on railway track.
How large should an industry tram be?
Match the industry window, then add vehicles before you lengthen the set. One player used about 74 capacity on a mixed steel and machine return and about 98 on grain and wool. If steel demand is nearly double plastic demand, feed the heavier input first instead of keeping both trams identical.
Related Guides
Transport Fever 3 Austria: Huge Alpine Map Guide
Explore the giant Transport Fever 3 Austria alpine map: towns, rail corridors, sparse industries, setup steps, and performance tips.
Transport Fever 3 Beginner Guide: Tips for New Players
Our Transport Fever 3 beginner guide covers routes, depots, demand-driven cargo, and money tips so your first transport empire actually turns a profit.
Transport Fever 3 Bus Lines: The Complete Setup Guide
Learn how to design profitable Transport Fever 3 bus lines with smart stop placement, line routing, and fleet sizing tips for growing cities.
Transport Fever 3 Campaign Guide: Saving Mardi Gras
A full walkthrough of the first Transport Fever 3 campaign mission, Saving Mardi Gras, covering objectives, tips, and how to earn all three stars.