Transport Fever 3 Trains: Build a Profitable Rail Empire
Master Transport Fever 3 trains with proven cargo line tips, station design, bidirectional freight strategies, and maintenance advice from real gameplay.
Trains are the backbone of any Transport Fever 3 economy, and few things in the game are as satisfying — or as risky — as launching a massive cross-map cargo line. In this guide, we break down how Transport Fever 3 trains work in practice, using a real community playthrough where one player spent nearly 10 million in-game currency connecting fishing grounds on one side of the map to a canning factory on the other. Whether you're hauling fish, grain, or passengers, the principles below will help you turn expensive steel into a money-printing machine.
Why Trains Are Worth the Investment
According to the official Transport Fever 3 Steam page, the redesigned cargo simulation gives you full control over loading and unloading, plus warehouses and specialized terminals for intermediate storage. That's a huge deal for rail economics.
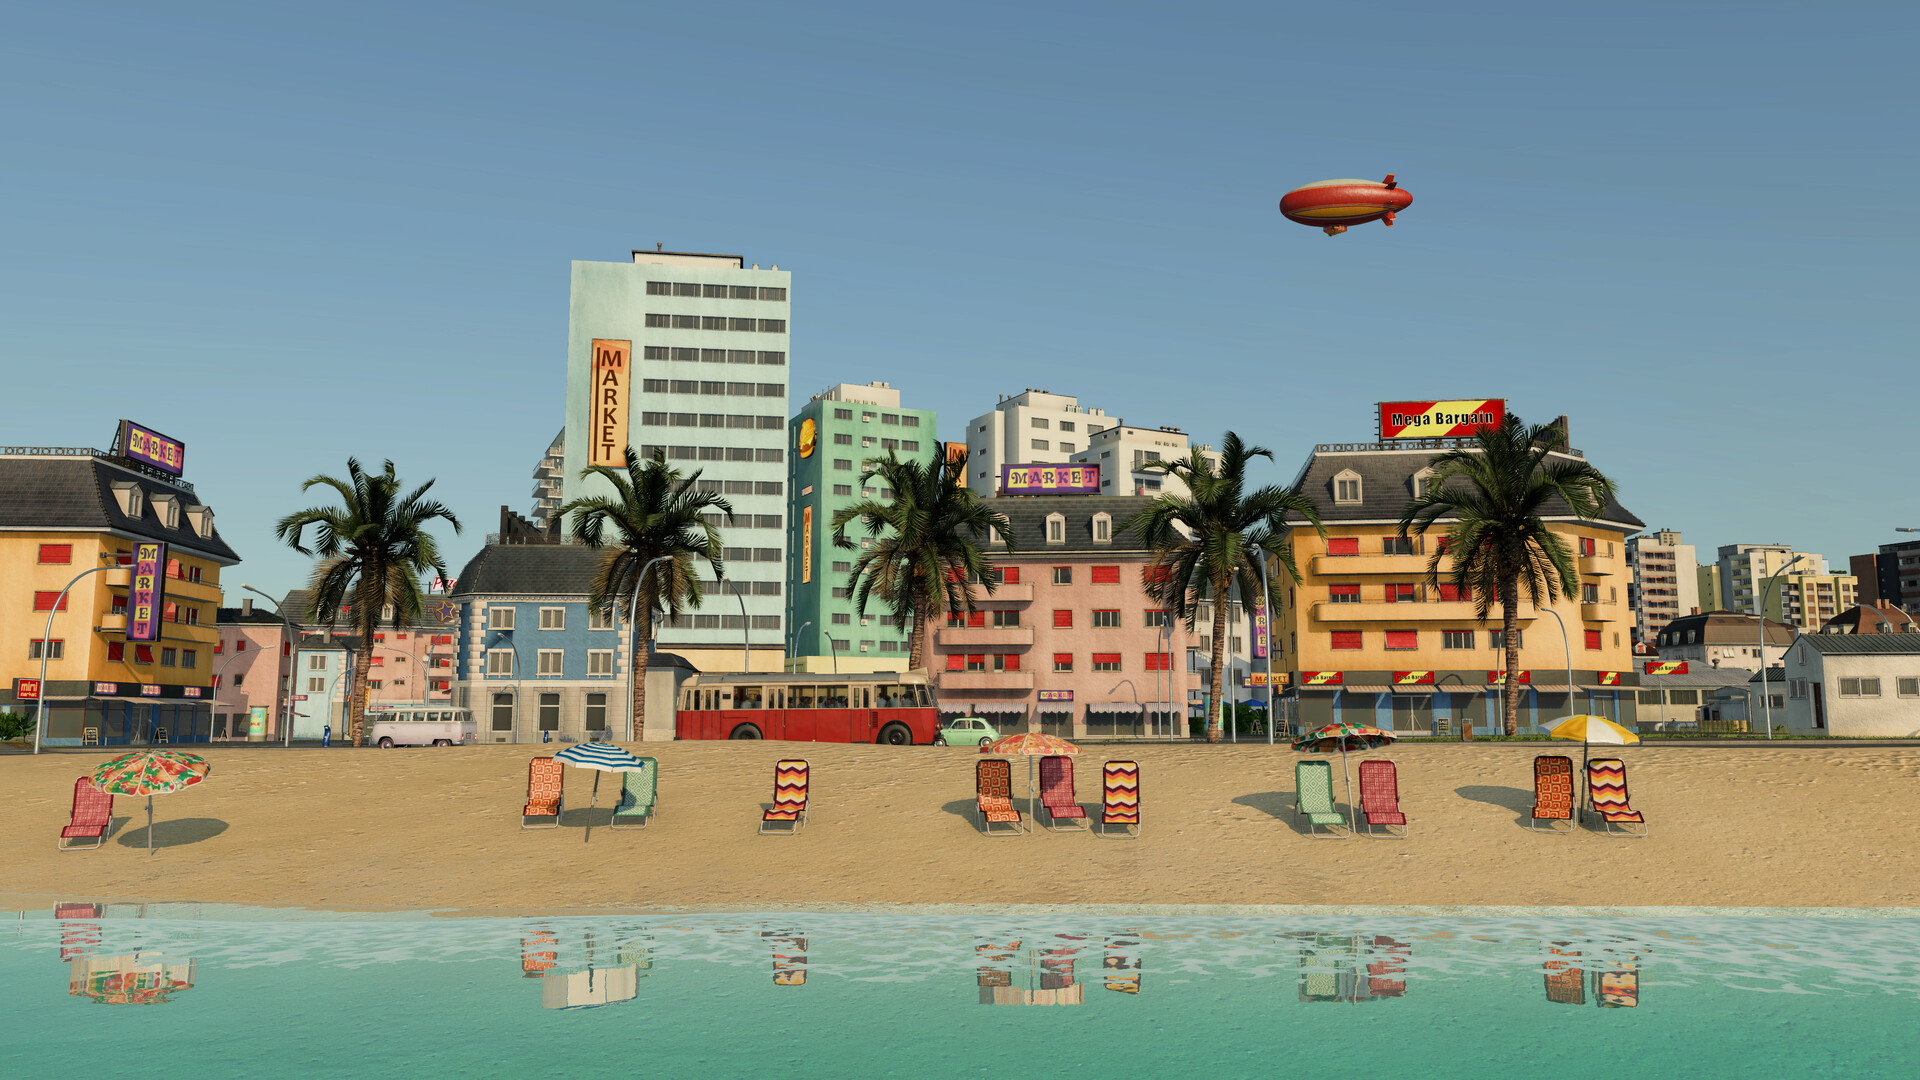
Official screenshot · Source: Steam store
Here's the core problem: trains are expensive. A single long-distance freight setup in one player's game cost around 9 million before it earned a cent. But once running at capacity in both directions, that same line generated roughly 9 million in profit per full cycle. The lesson? Big rail projects are a long-term investment, not a quick flip.
Planning a Long-Distance Cargo Line
Before laying a single track, map out your entire supply chain. In the community playthrough we referenced, the chain looked like this:
| Stage | Facility | What It Produces |
|---|---|---|
| Harvest | Fishing grounds | Raw fish |
| Transport | Ships + port + warehouse | Fish storage and transfer |
| Processing | Canning factory | Canned food (fish + sheet metal) |
| Delivery | Trucks to cities | Final customers |
Key planning steps
- Identify your customer first. The fish only had value because a canning factory and two growing cities demanded canned food. No customer, no profit.
- Follow the terrain. Bridges over rivers (built tall enough for ship traffic) and a 3-million tunnel through hills minimized landscaping costs.
- Build double track from the start. For long lines you'll need multiple trains, and per player experience, you cannot easily build parallel tracks retroactively — the second track had to be laid manually.
- Use signals on long routes. One-way signal paths per track direction keep everything flowing safely.
Station Design and Specialization
Stations are where most players leak money. Size and specialization matter enormously.
| Station Feature | Recommended Setup | Why It Matters |
|---|---|---|
| Track count | 4 tracks for major hubs | Allows multiple trains and future expansion |
| Platform length | 320 m for freight | Long trains need room to load fully |
| Specialization | Goods stations for food products | Speeds up loading/unloading of matched cargo |
| Station type | Terminus only at dead ends | Safe when nothing passes beyond |
One clever trick from player experience: build extra capacity at stations along your route even if unused today. A furniture factory near the main line got connected "just in case," saving a costly rebuild later. Also, hold Shift to enable precision mode while building — it lets you place track and stations in millimeter increments instead of the default snapping.
The Golden Rule: Full Trains in Both Directions
The single most important concept for profitable Transport Fever 3 trains is bidirectional loading. An expensive locomotive running full one way and empty the other will bleed money.
The solution in this case was the versatile box car, which can carry fish, meat, canned food, greens, and plastics. Fish went south to the cannery; meat from livestock farms near the factory went north to feed a growing port town. Same train, full both ways, roughly 6 million in profit on the loaded leg alone.
| Cargo Setup | Load Factor | Result |
|---|---|---|
| Fish only (one direction) | ~50% overall | Slow losses |
| Fish + meat return load | ~100% both ways | ~9M profit per cycle |
To supply the return cargo, the player used truck lines (not trains) for short grain runs — trains don't make sense on short hauls where one side would run empty.
Warehouses: The Secret Weapon
The redesigned logistics layer makes warehouses essential for complex chains. Two tips worth stealing:
- Stack warehouse modules. In Transport Fever 3 you can paint new modules over existing ones instead of deleting and rebuilding, which streamlines upgrades significantly compared to Transport Fever 2.
- Combine storage types carefully. One warehouse expanded to store 500 fish and 500 meat acted as a buffer, smoothing out supply spikes. Just be careful: a station's catchment area feeds nearby industries automatically, so if you don't want the cannery eating your meat stock, position the station so only the warehouse is in range.
Choosing Locomotives and Rolling Stock
Vehicle choice changes everything on long routes. The Chinese Class JF1, newly available in the 1919-era save, offered excellent power but low top speed — a trade-off that worked thanks to the line's heavy inclines and long consists.
| Vehicle | Best Use | Notes |
|---|---|---|
| Class JF1 | Heavy freight, hilly terrain | High power, low speed |
| Box car | Mixed goods freight | Carries fish, meat, canned food, greens, plastics |
| Atlantic + Pullman heavyweight coaches | Inter-city passenger | Higher speed and capacity (up from ~100 to 154 seats) |
| AG motor car (tram) | Urban transit | 22 passengers each, expandable past 30 with wagons |
When a passenger line overloaded with 370 waiting passengers, the player didn't just add a third train — they replaced both locomotives with newer Atlantics and upgraded coaches. Sometimes upgrading beats expanding.
Don't Neglect Maintenance
Neglected vehicles get slower and less effective, dragging down entire lines. Per player experience, only depots provide maintenance coverage, and buildings outside depot range decay quickly.
- Build road maintenance buildings inside busy cities, ideally hidden near stations.
- Use the game's maintenance overlay to spot coverage gaps.
- Cover every city with at least one road depot, even if it means demolishing a few buildings — "the price of progress," as one player put it.
FAQ
How much money do I need before building big train lines in Transport Fever 3? Based on community reports, a major cross-map freight line can cost 9–10 million before turning profitable. Build smaller, profitable lines first to bankroll the ambitious ones.
What's the most profitable train cargo setup? Player experience consistently points to full bidirectional loads — pairing two industries that need each other's products, like fish southbound and meat northbound on the same box cars.
Should I use trucks or trains for short distances? Trucks. Trains are too expensive for short hauls, especially when one direction would run empty. Reserve Transport Fever 3 trains for long, high-volume routes.
How do I stop stations from snapping to the wrong position? Hold Shift while building to activate precision mode, which allows millimeter-level free placement instead of the default grid snapping.
Related Guides
Transport Fever 3 Airplanes: Your First Airline Guide
Learn how Transport Fever 3 airplanes work, from building your first airport to running a profitable early airline line with the Junkers F13.
Transport Fever 3 Helicopters: Cargo Guide & Tips
Learn how Transport Fever 3 helicopters work, from helports and helipads to cargo routes, costs, and setup tips for 1950s air transport.
Transport Fever 3 Ships List: Every Vessel Confirmed
Full Transport Fever 3 ships list: all 25 confirmed vessels, from trawlers and ferries to hovercraft, plus early-game ship strategy tips.
Transport Fever 3 Vehicle List: Best Trains by Era
Full Transport Fever 3 vehicle list breakdown — 300+ trains, trucks, ships and planes, plus era-by-era buying advice and upgrades worth skipping.